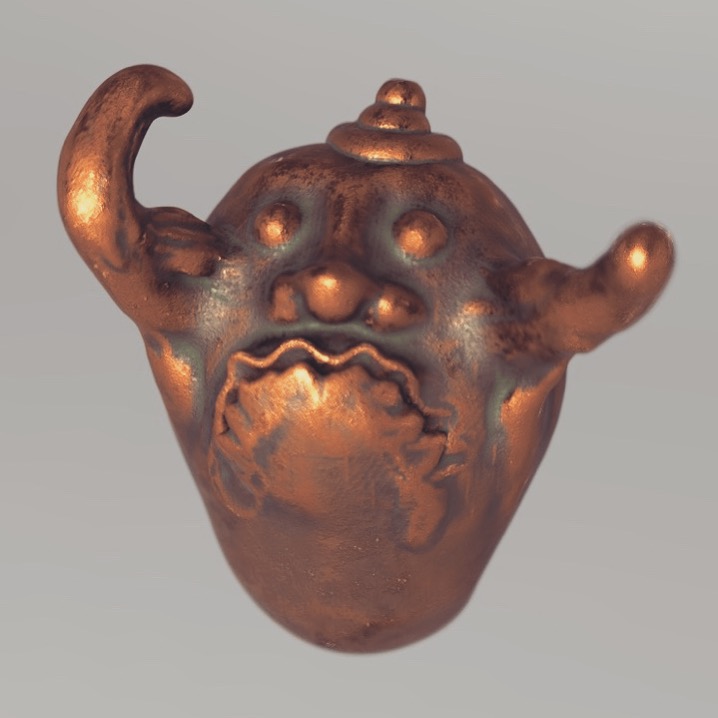
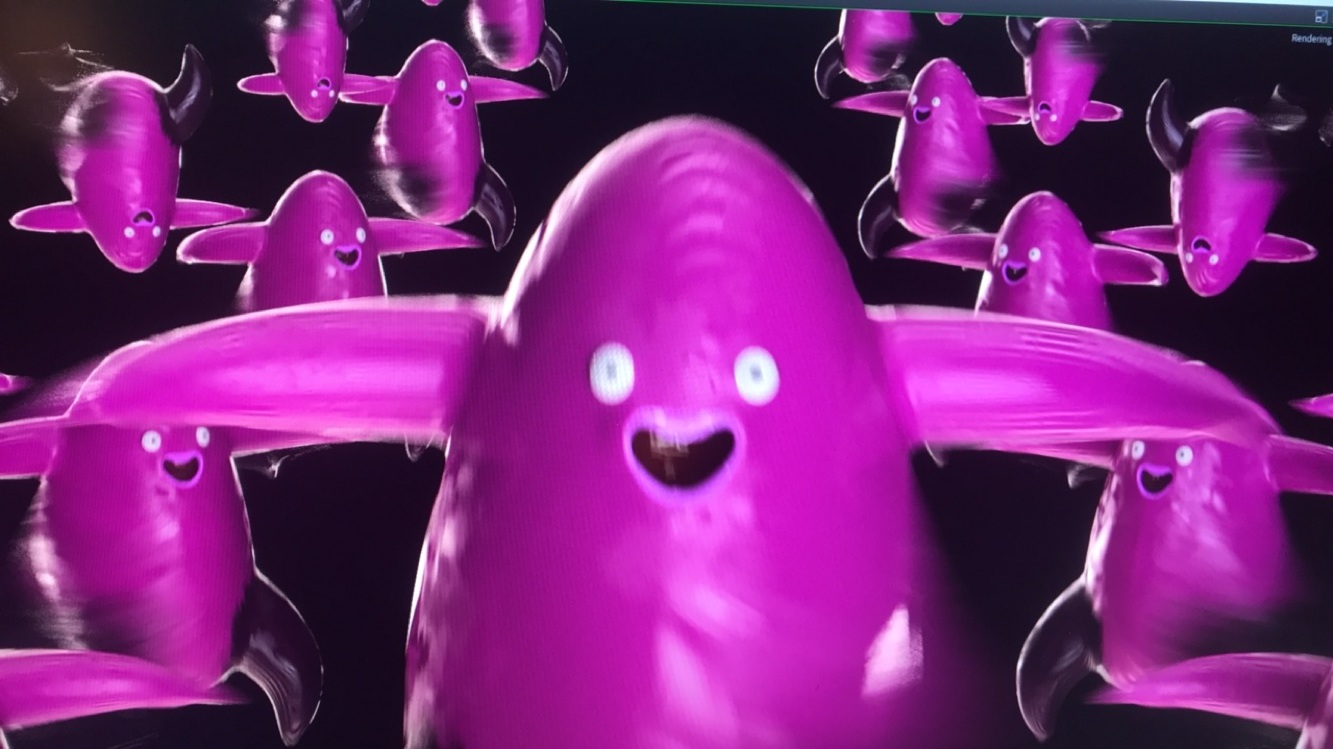
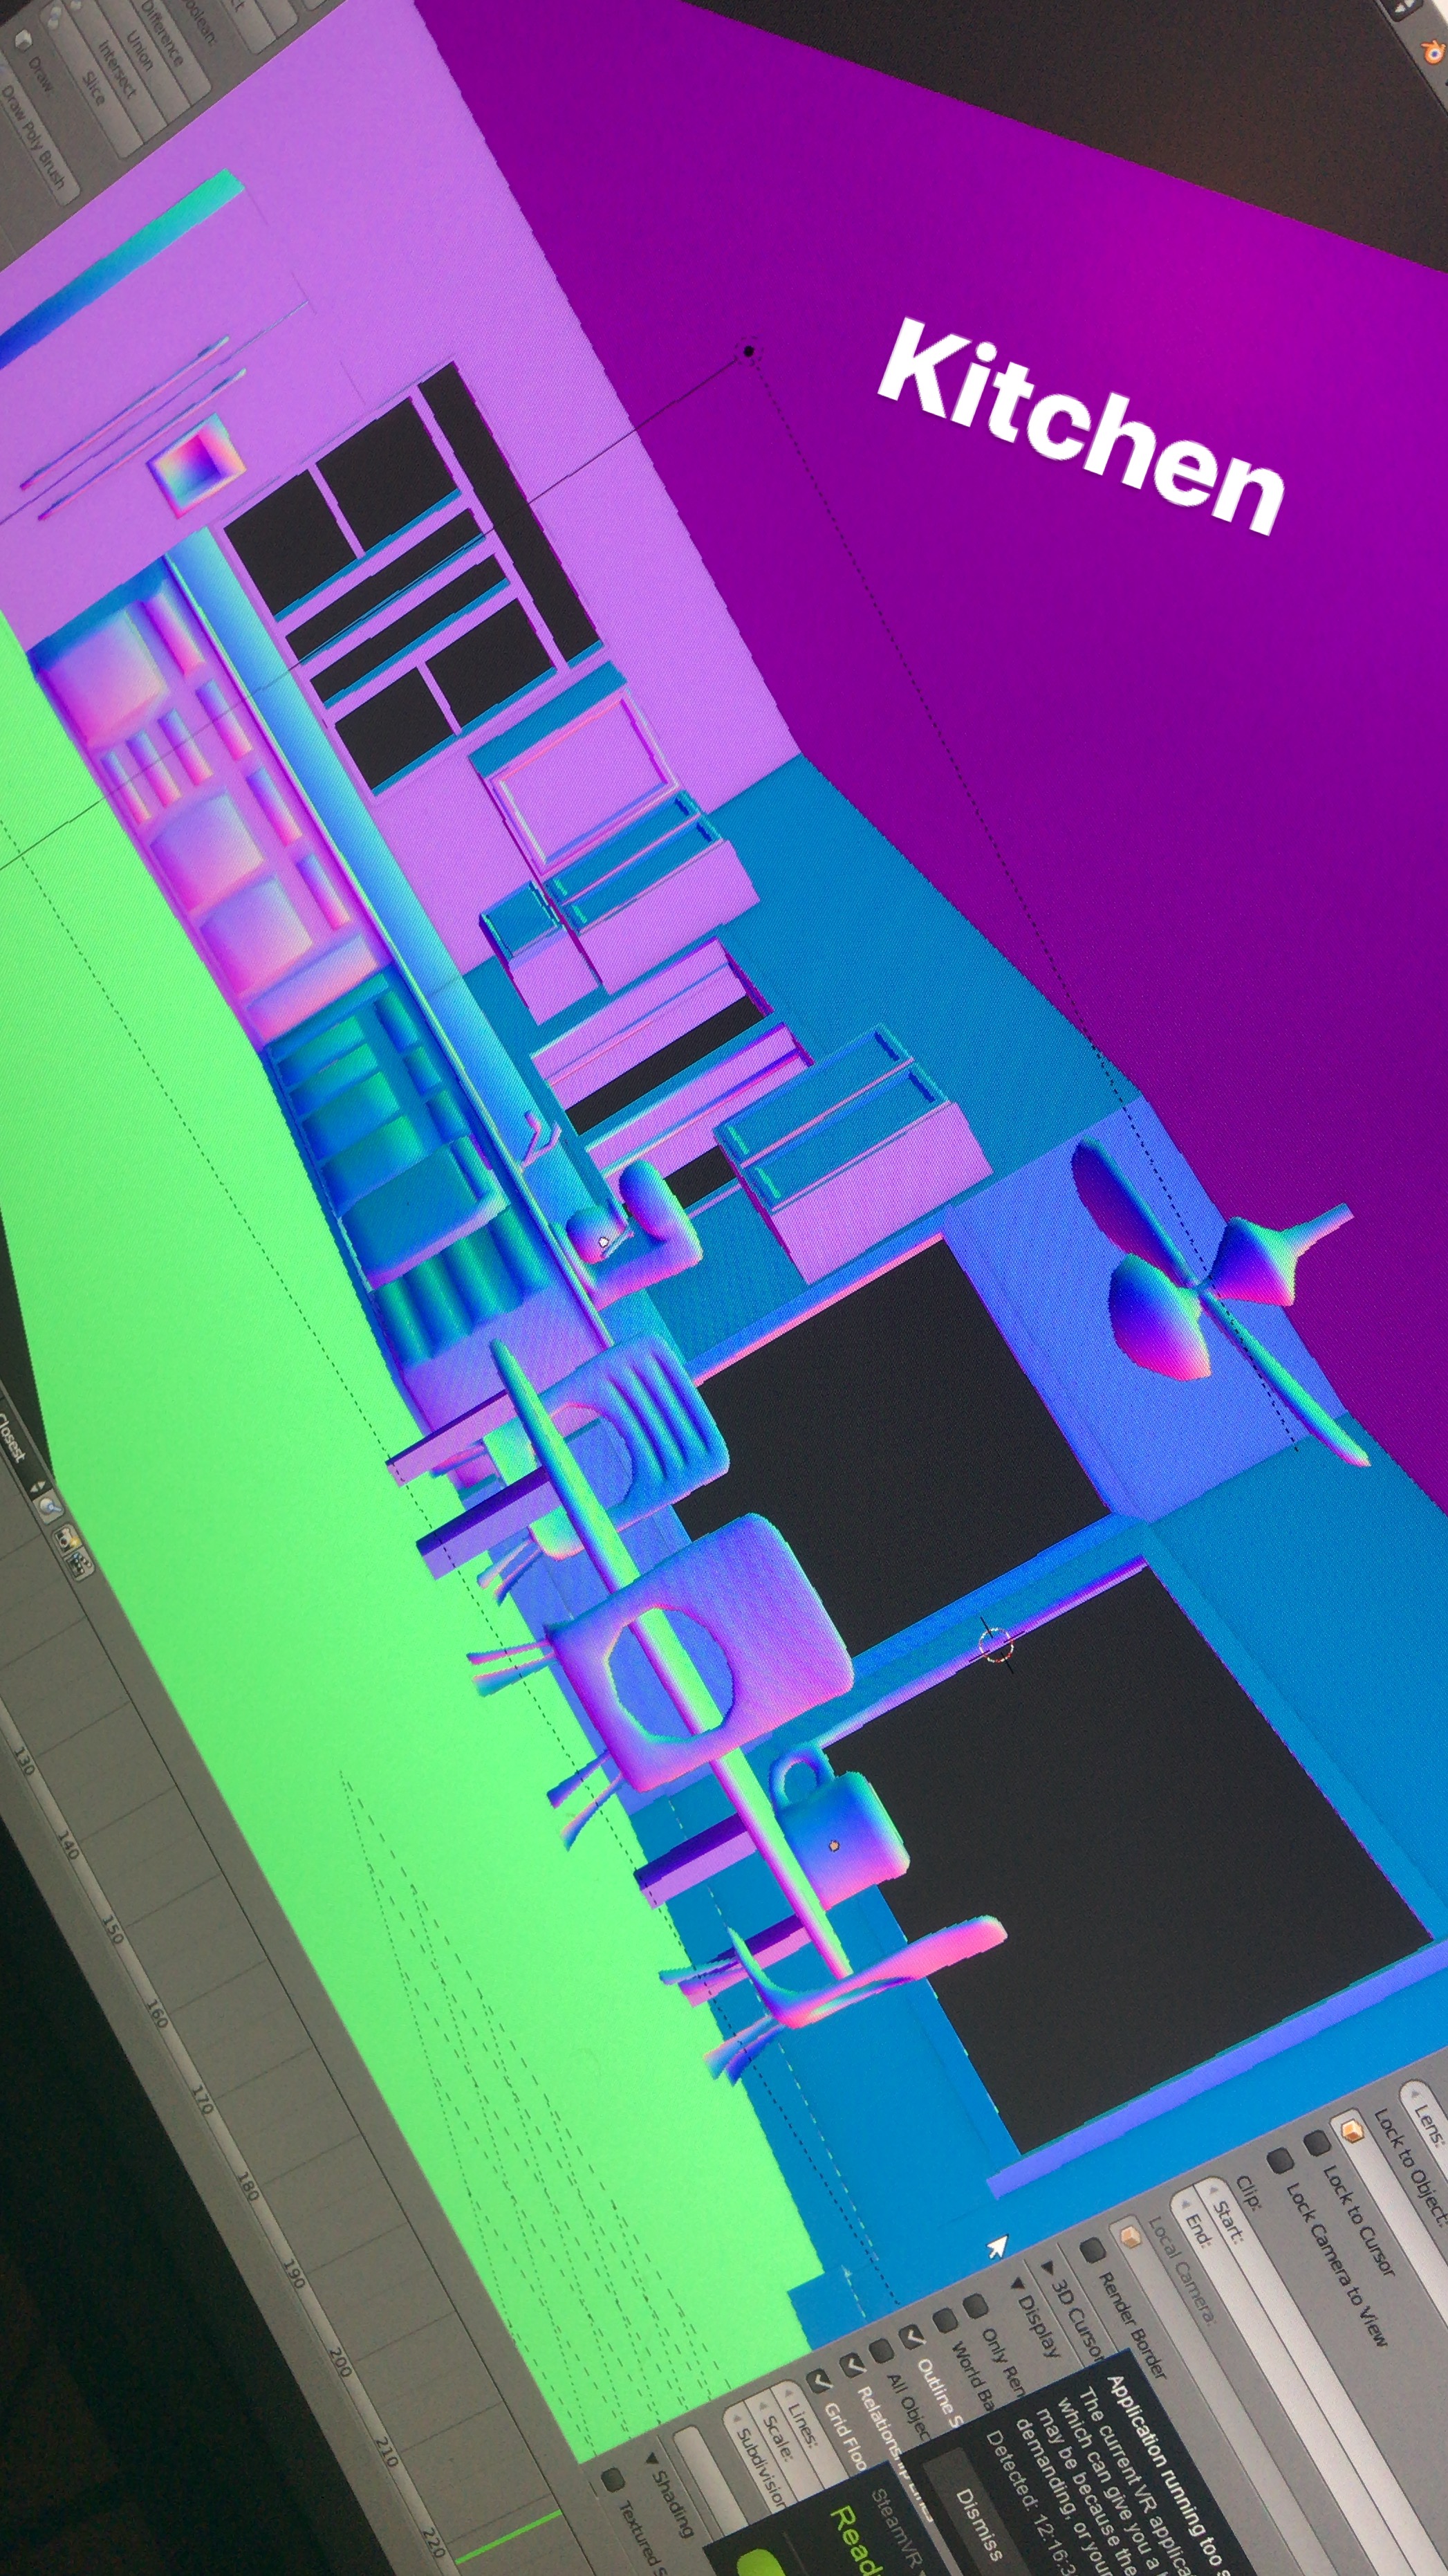
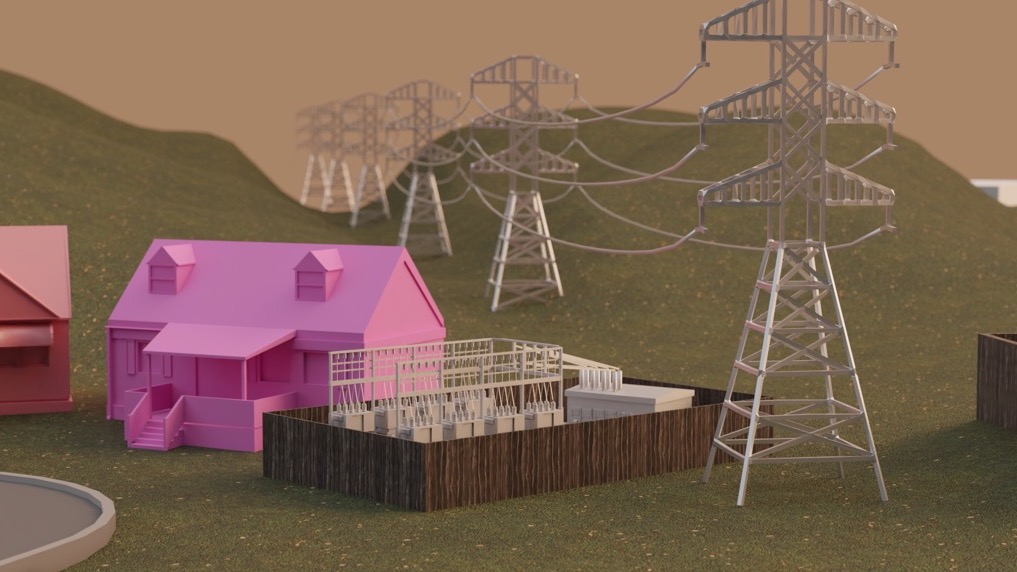
Making Coffee Grind Brains

An early work in progress shot of Coffee Grind Brains (CGB)
In the beginning
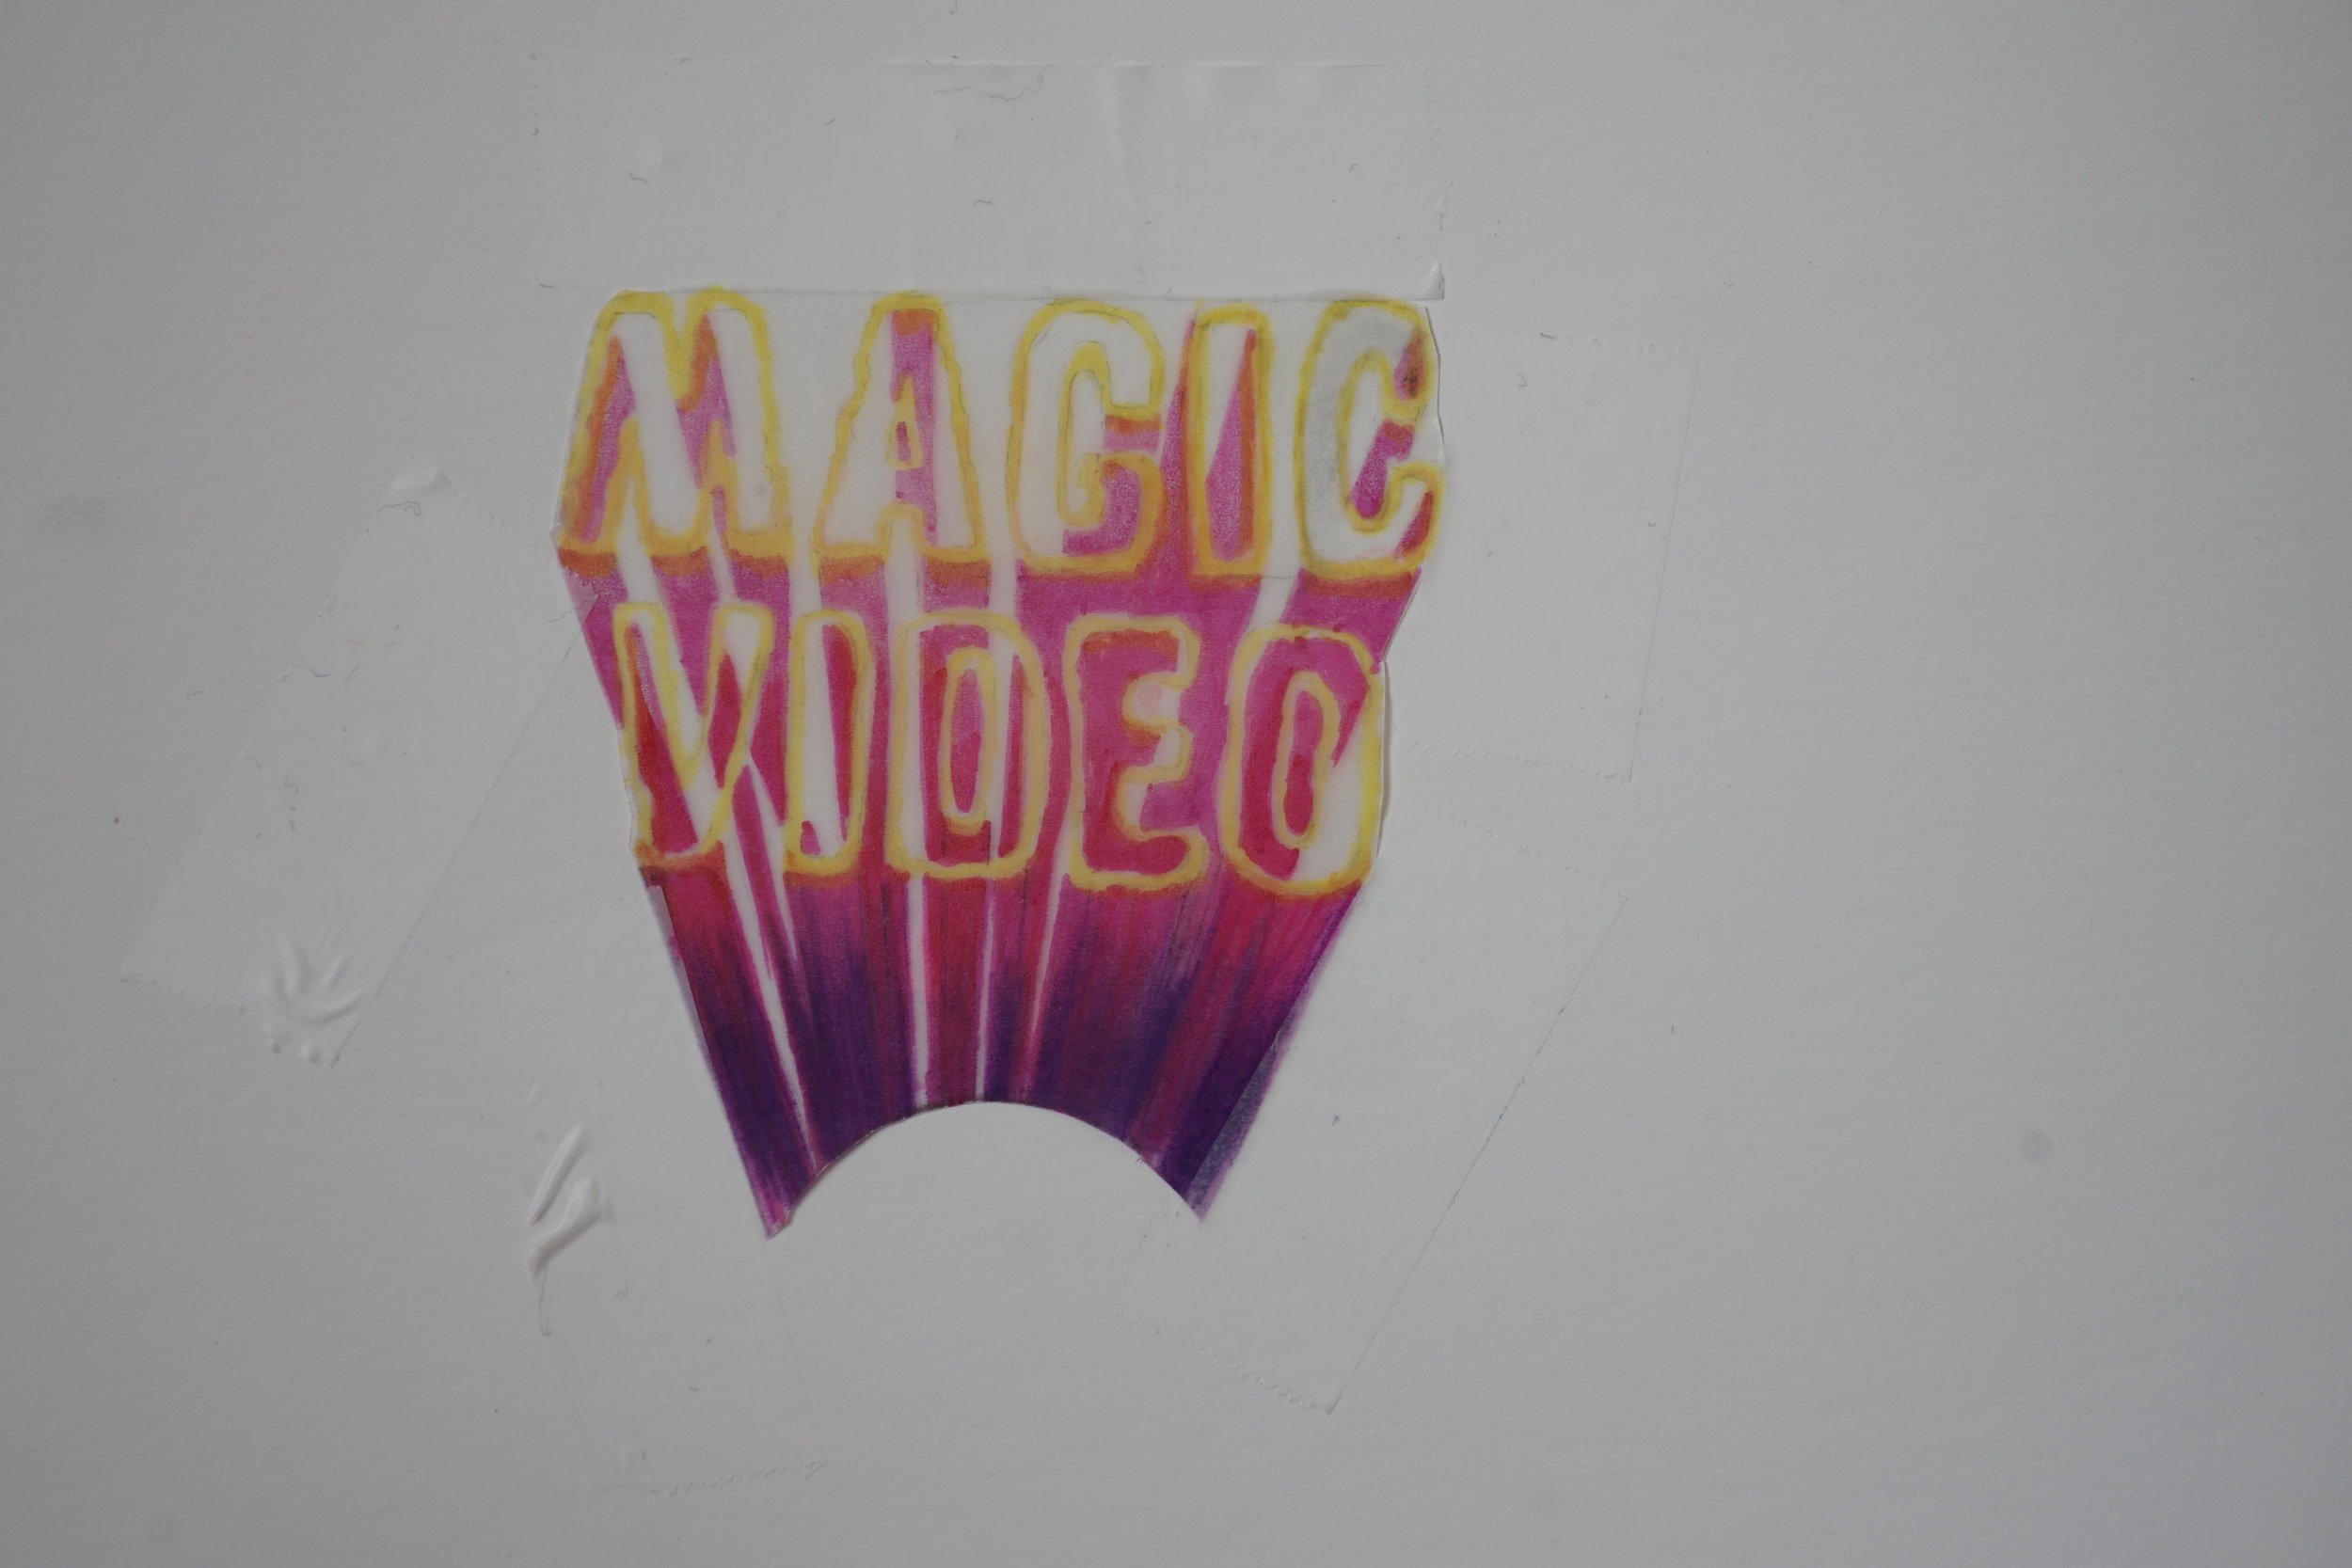
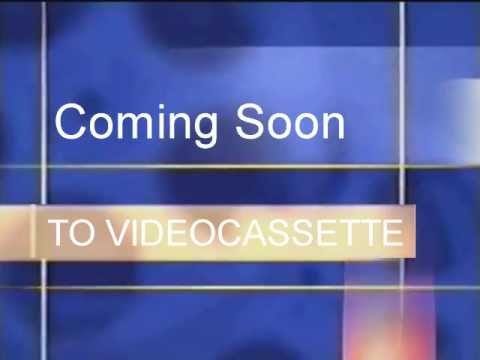
This project started when I got an email from my friend Luke who had seen some of my recent animation and cg tests. He was asking if I had any interest in producing a video for his new band Magic Video. I was looking for a larger, fuller project to challenge my new 3d animation skills and technical art toolset through a minor baptism of fire and the album is beautiful, so I agreed. They also had plans to release a version of the full album on VHS as a collection of custom music videos for each song, exciting the nostalgia fueled millennial in me.

Coffee Grind Brains by Magic Video.
If you haven’t seen the complete video, now’s yer chance
It was a mutually beneficial agreement for us. I had pretty much free reign on the visuals and they got a free music video with no deadline (thank god for that). We settled on Coffee Grind Brains (“CGB“) as “my” song. The band members and others were each assigned their own videos to produce for the album.
Below: Samples of some of the cg and animation experiments I had done before Coffee Grind Brains. Mostly Blender but a handful of early Houdini/Redshift experiments are in there too.

Pre-production
Not an enormous amount of effort went into pre-production on this project.
That was a mistake.
I had also decided before beginning that this project was going to be designed for both VR and traditional screens.
That was also a mistake (but an interesting one).
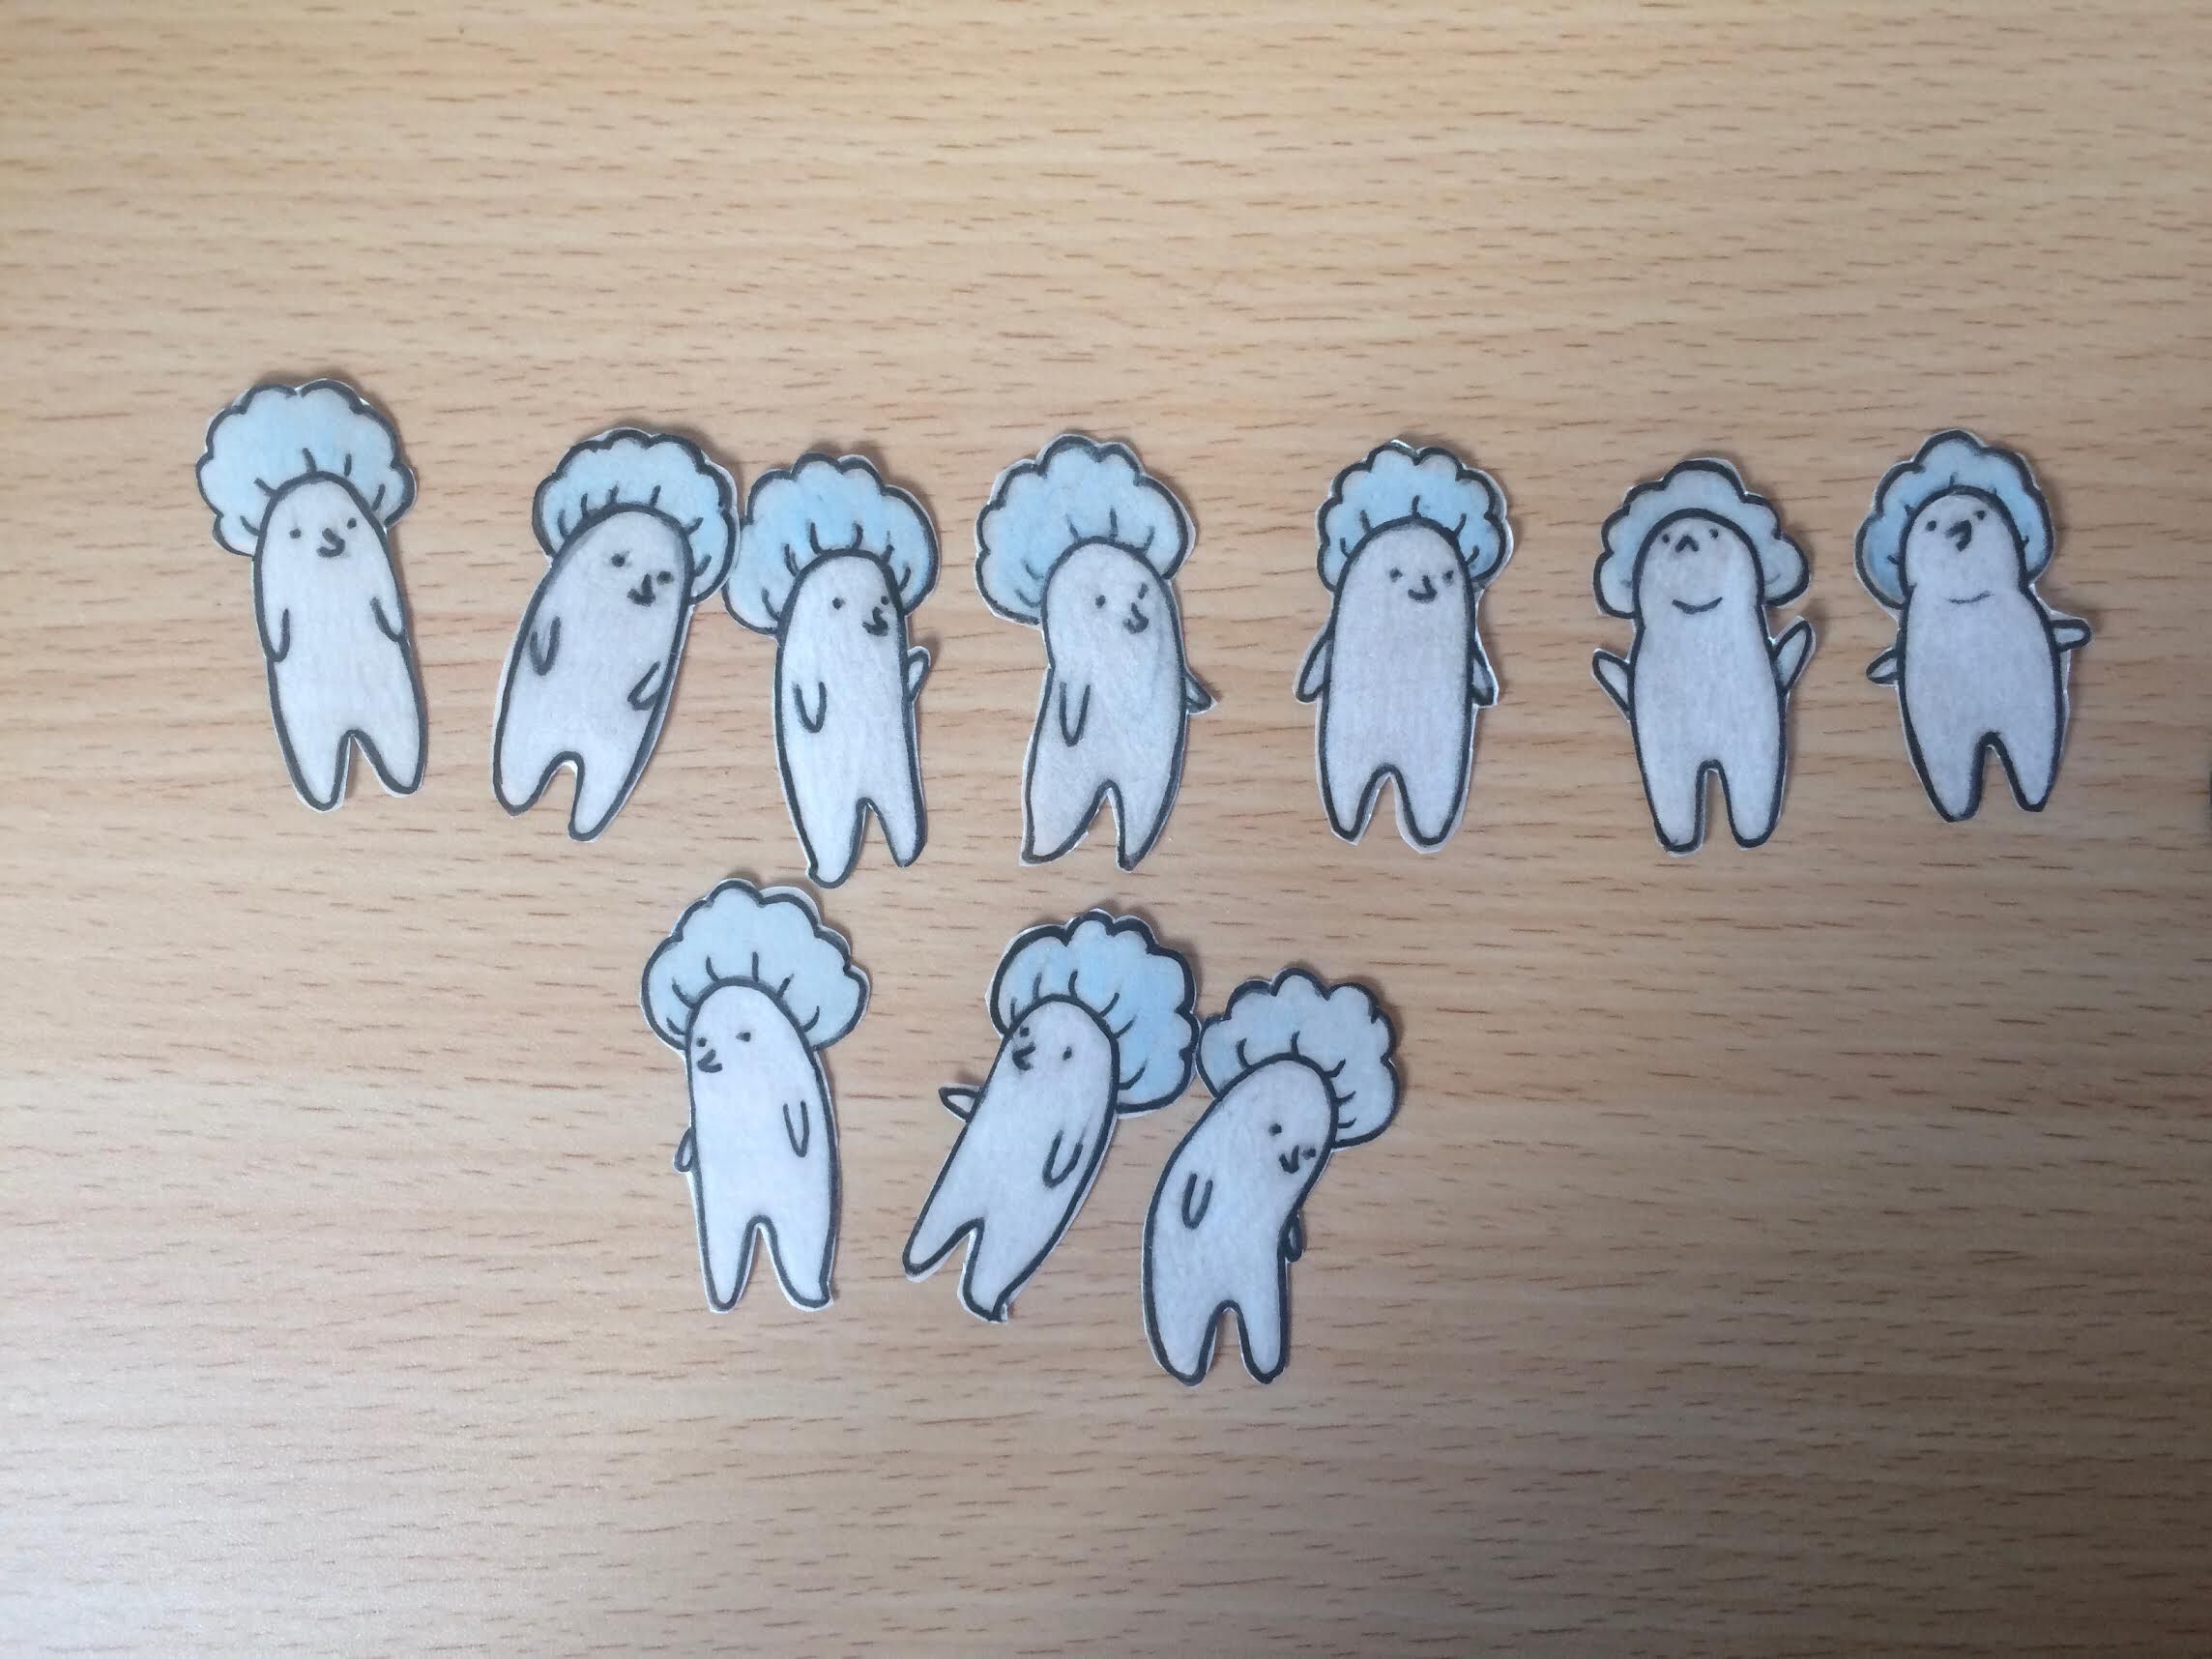
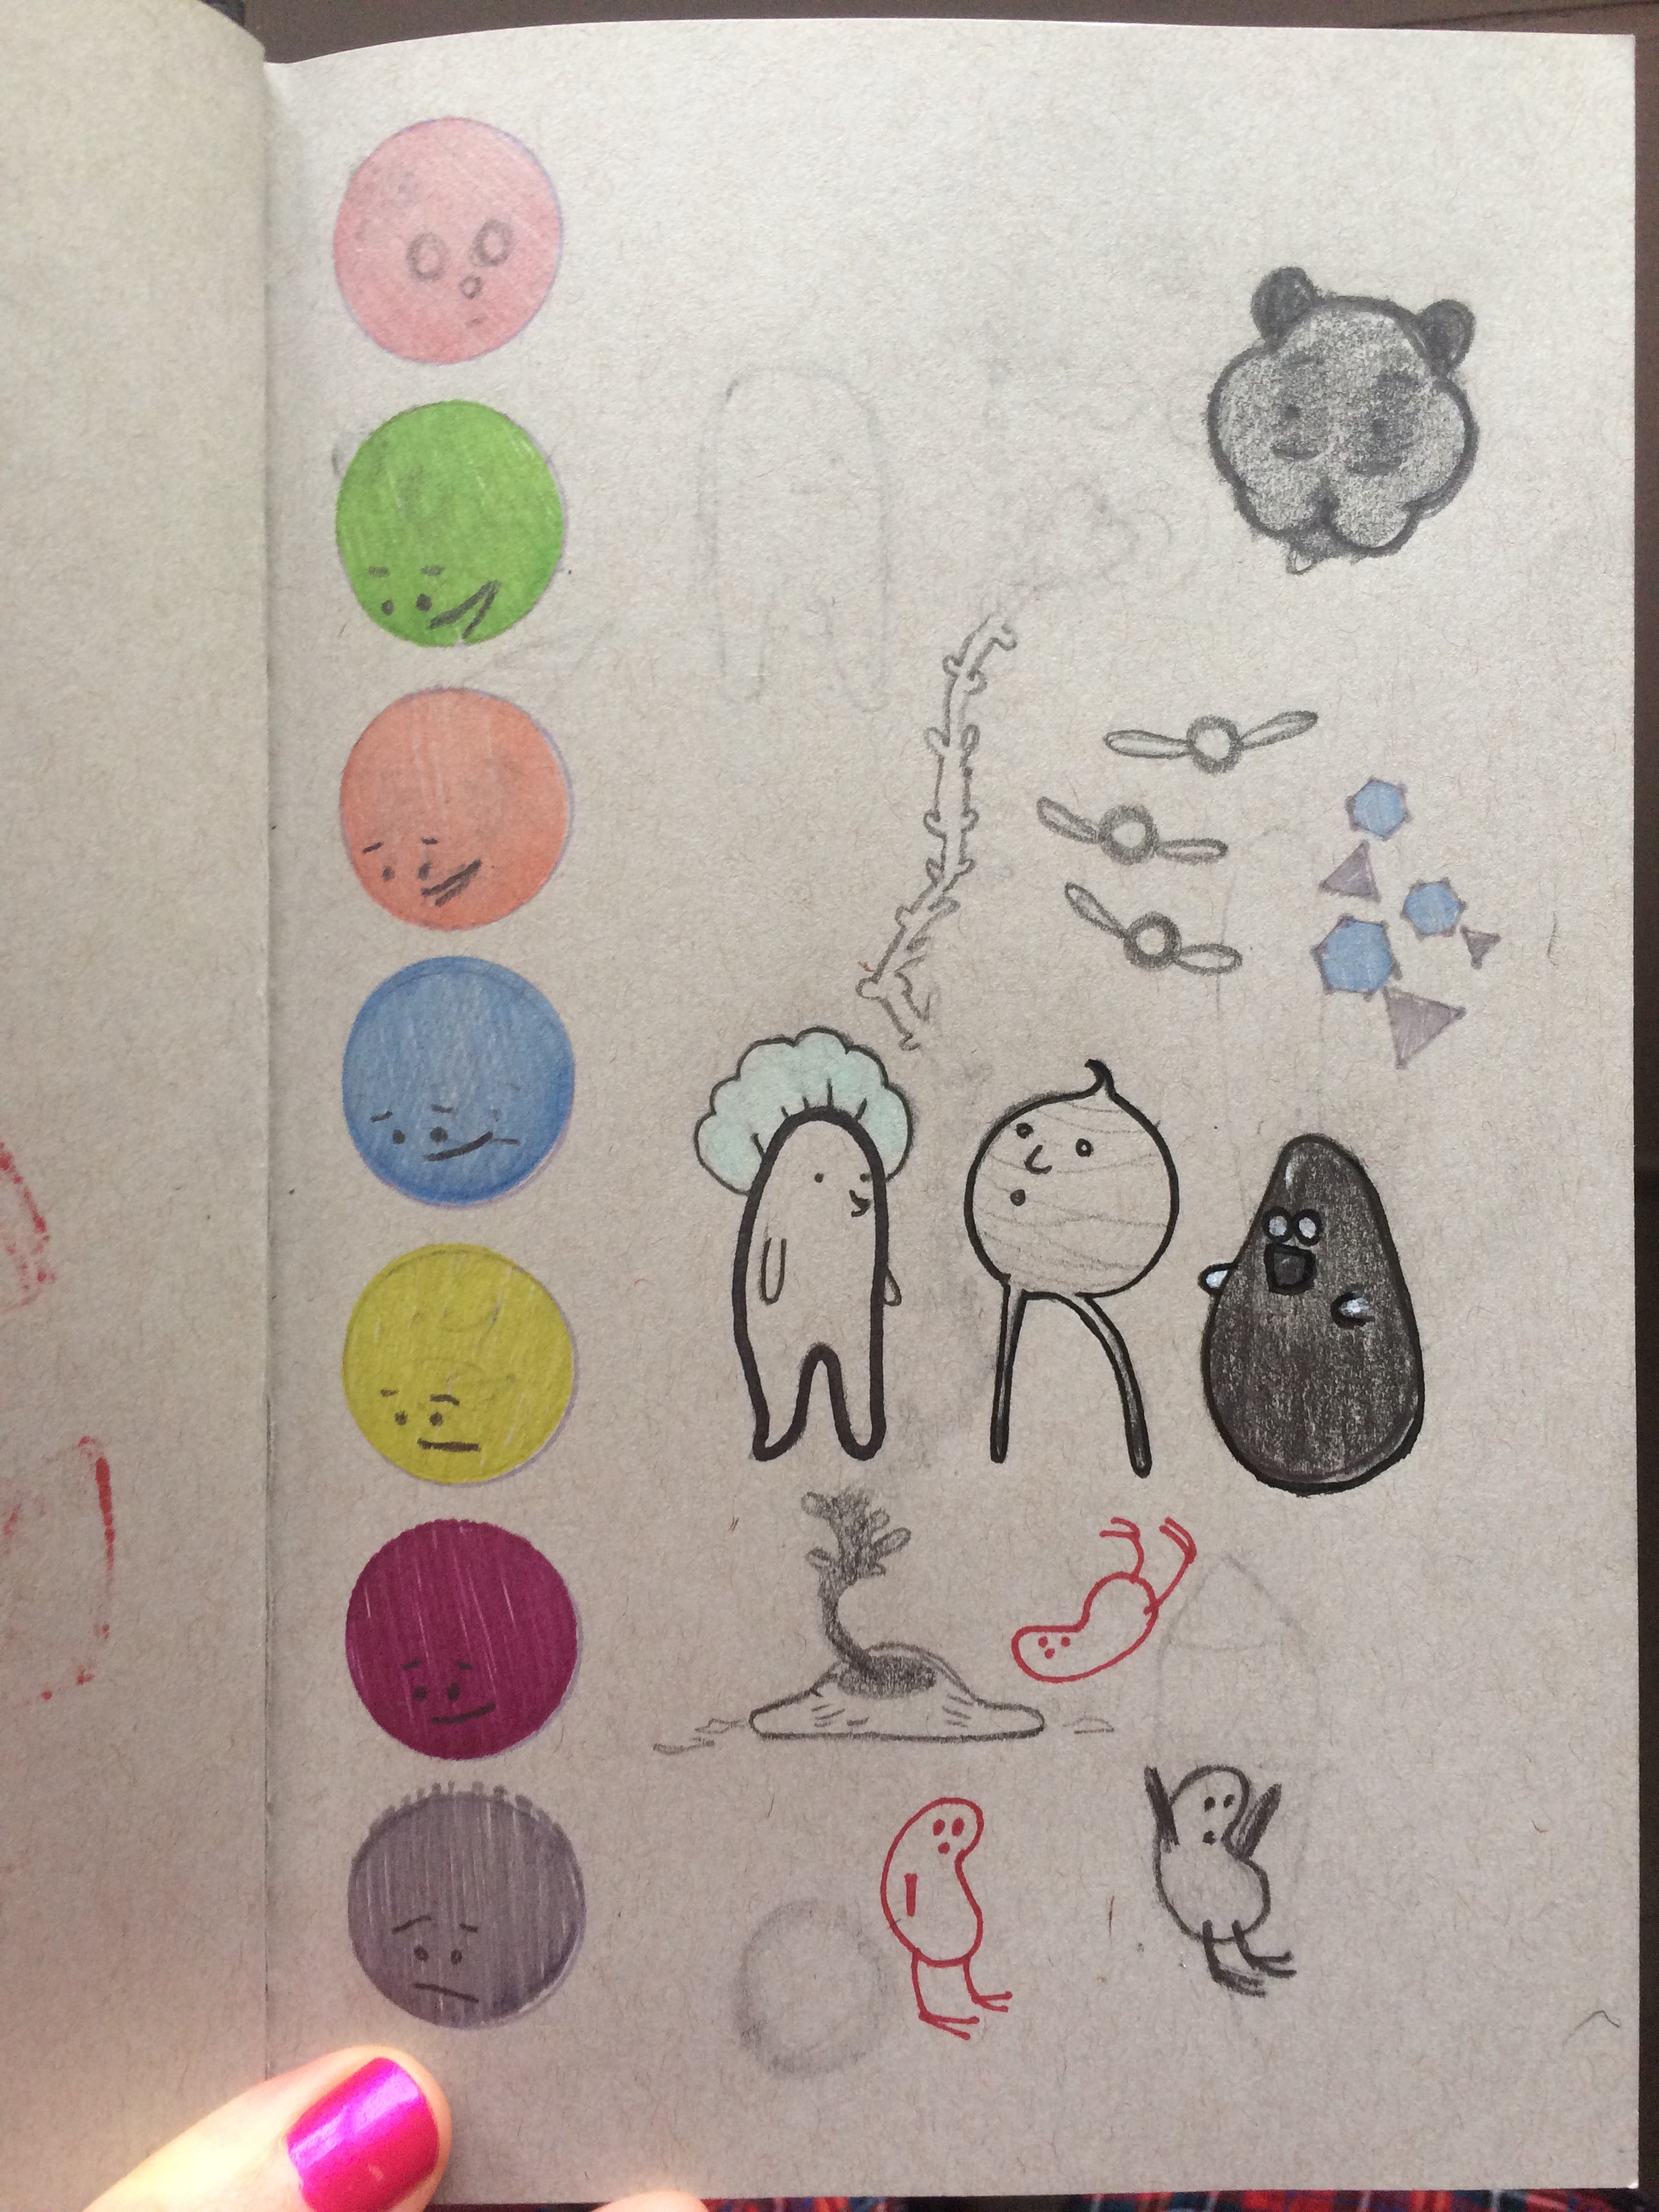
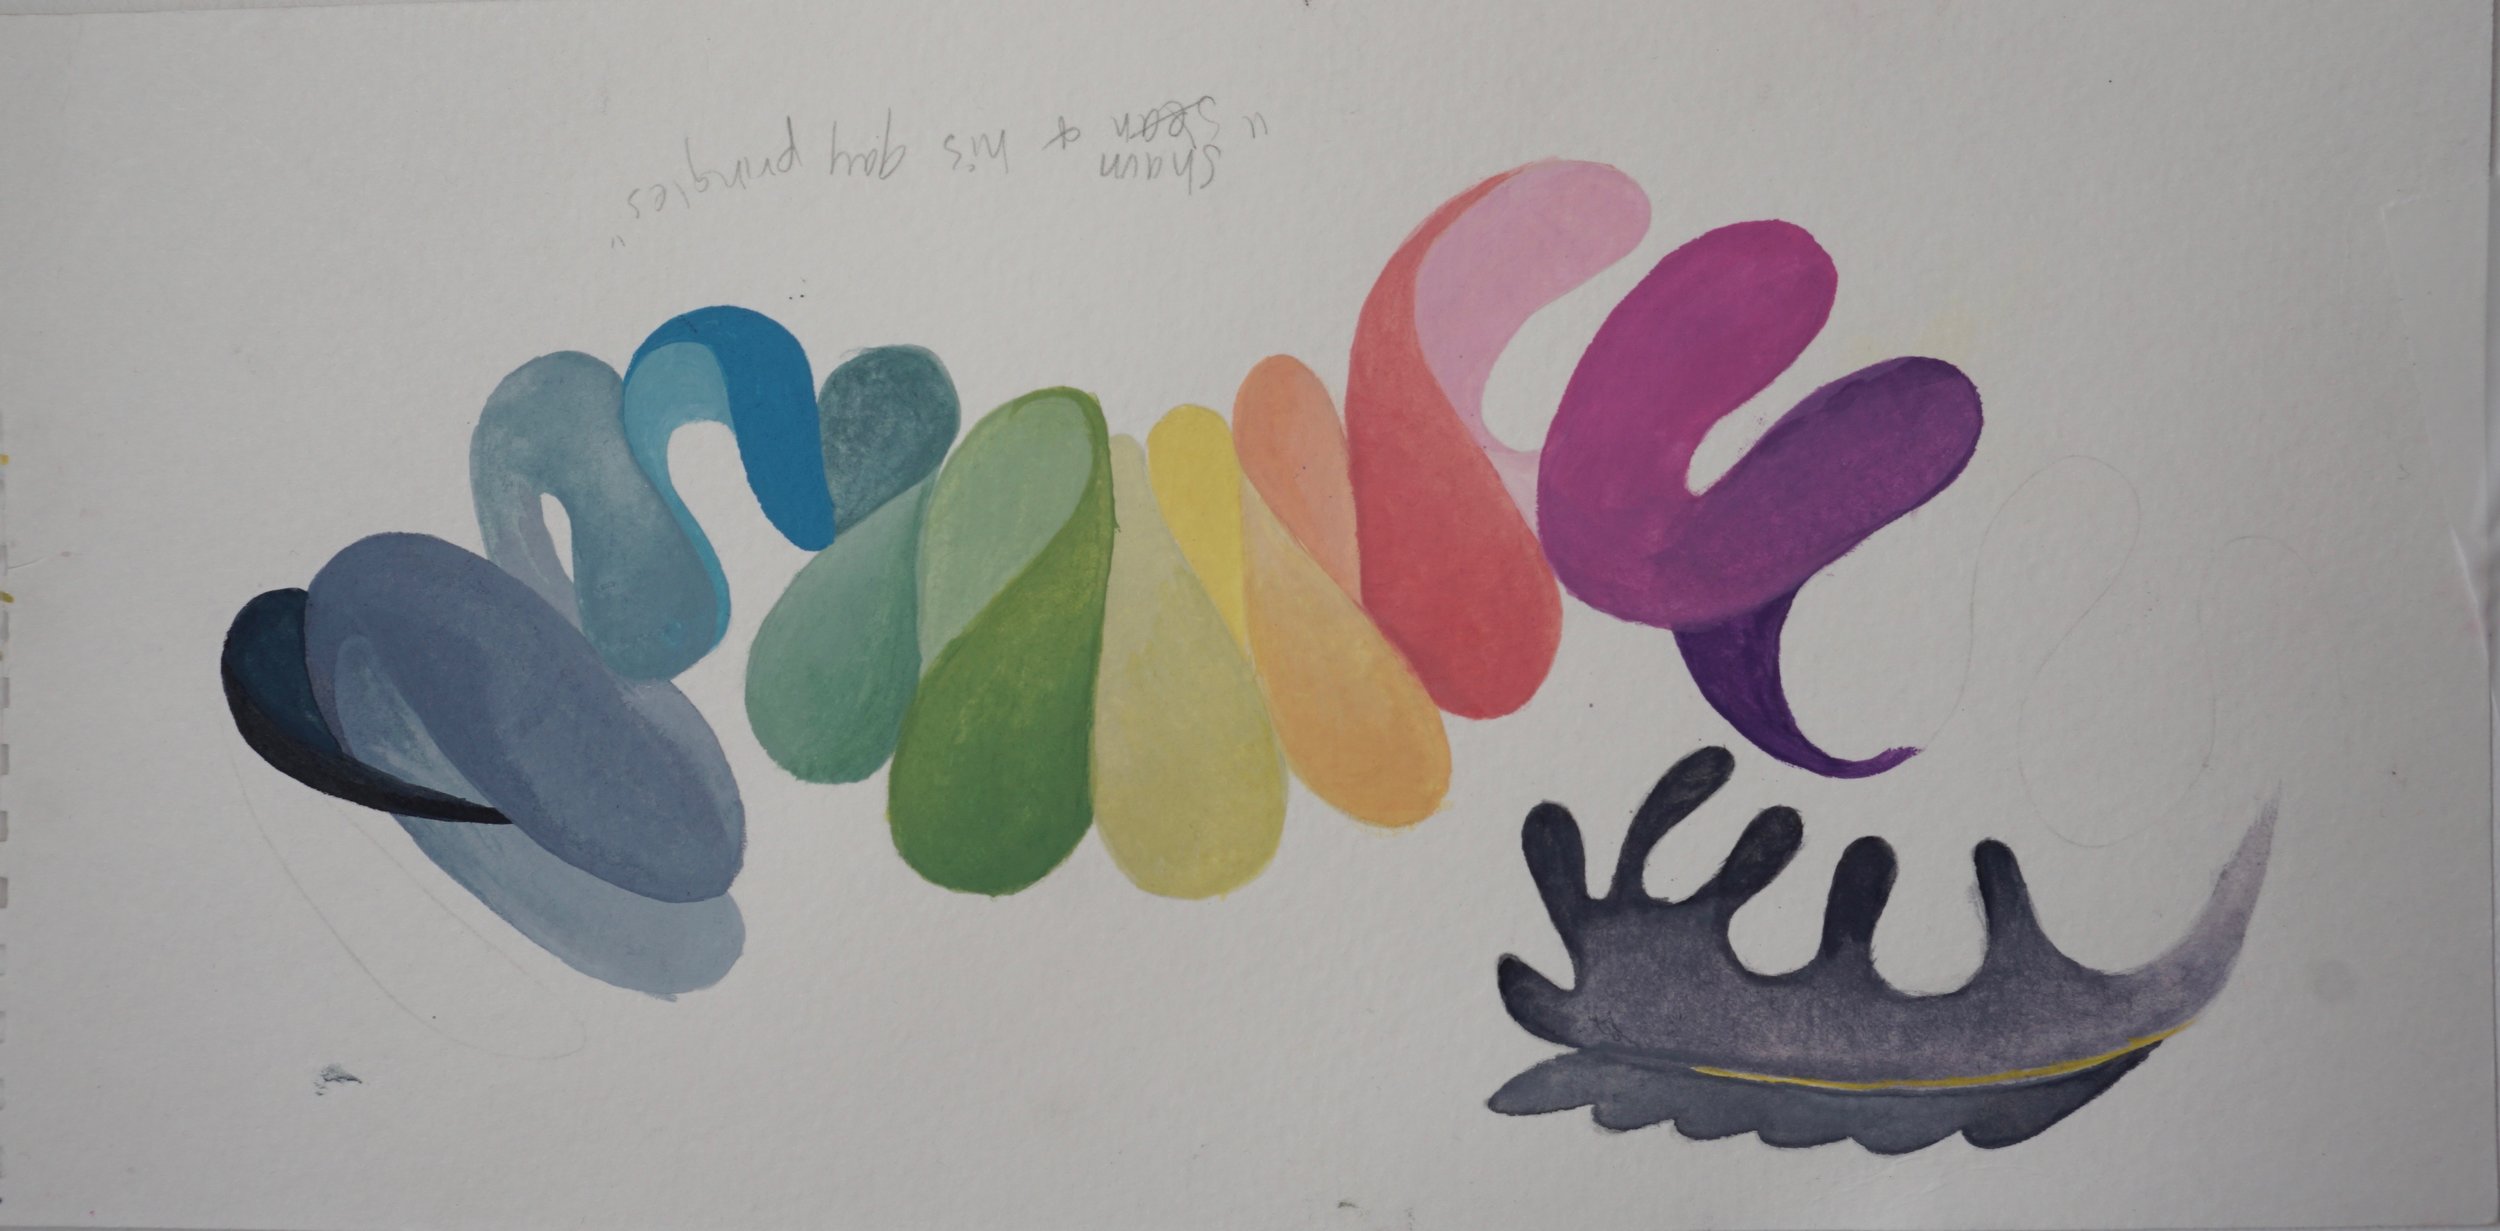
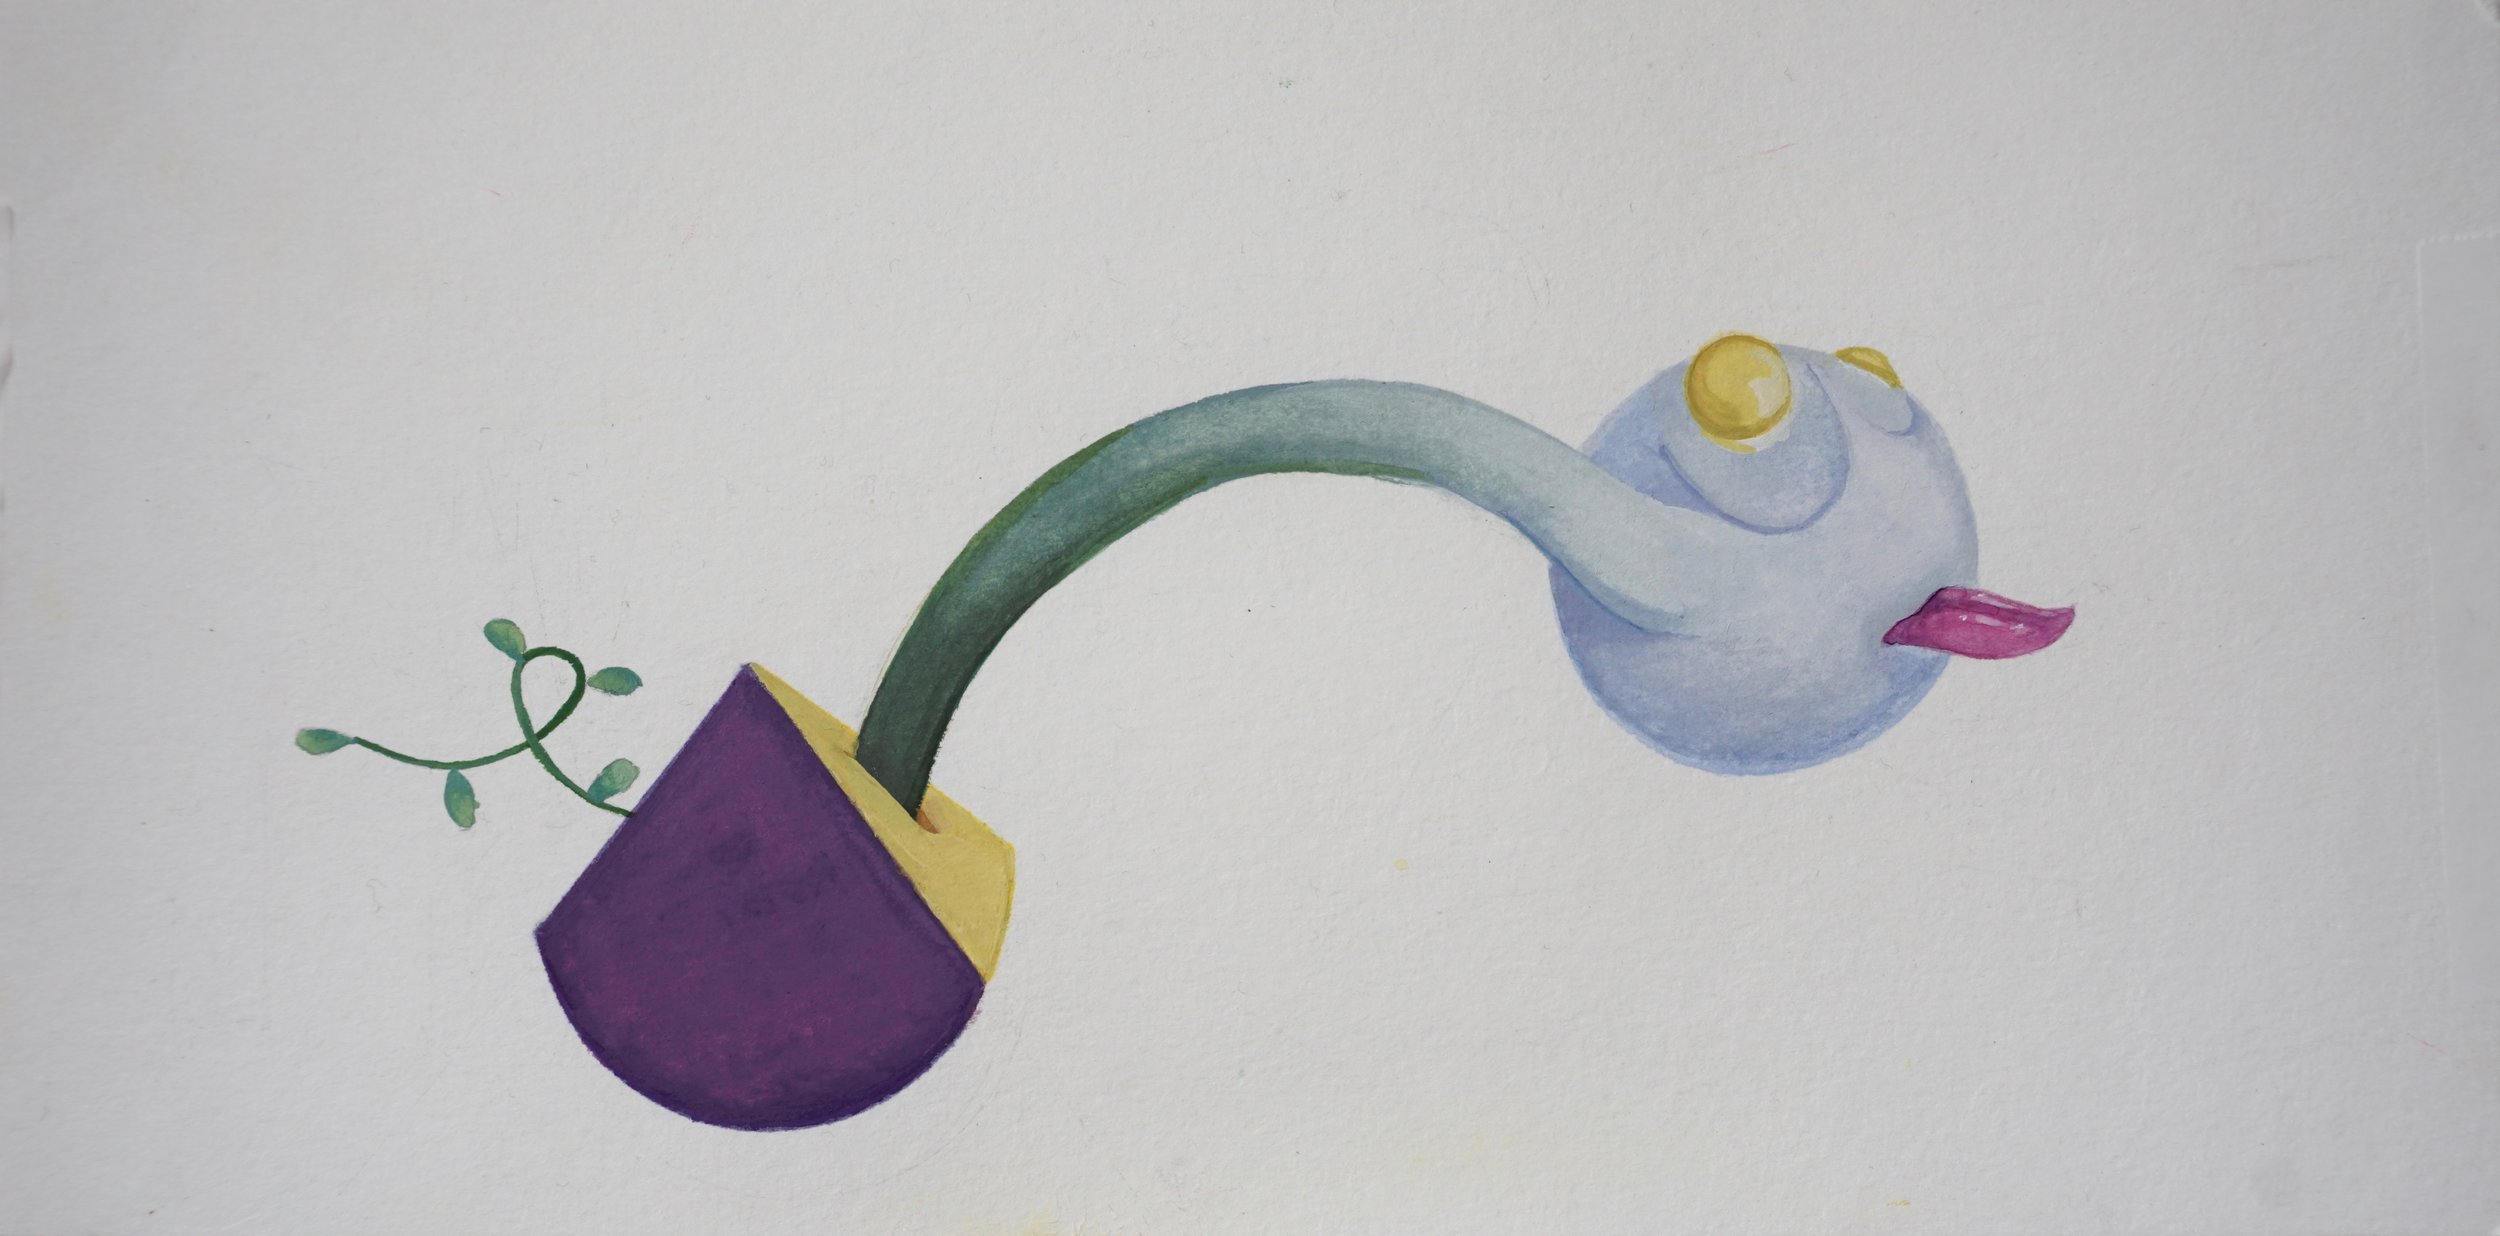
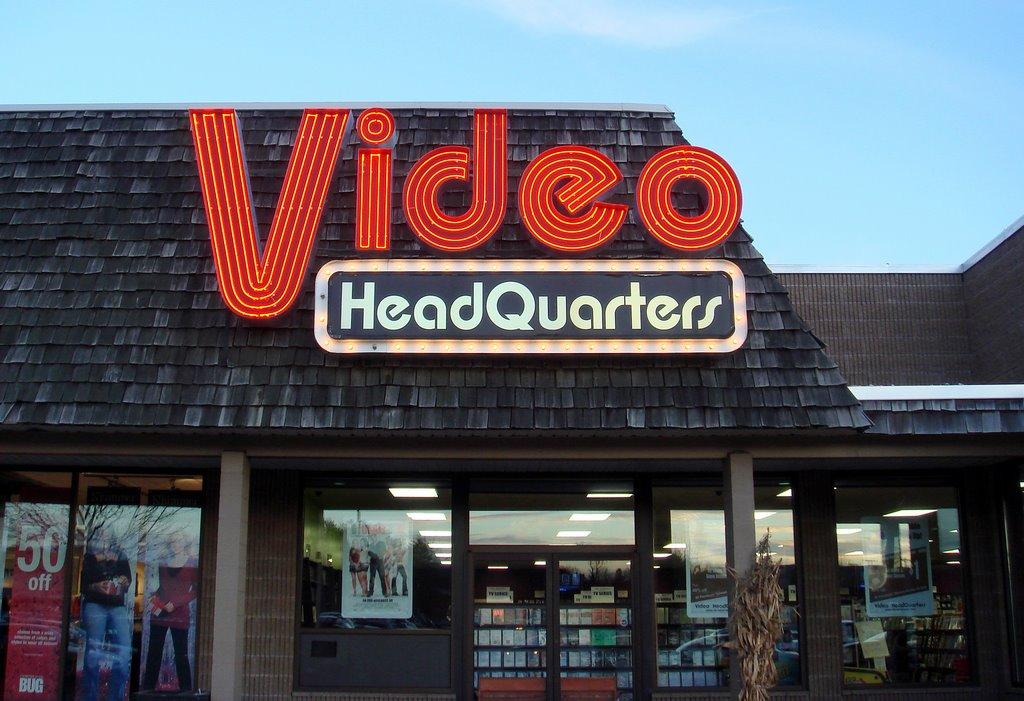
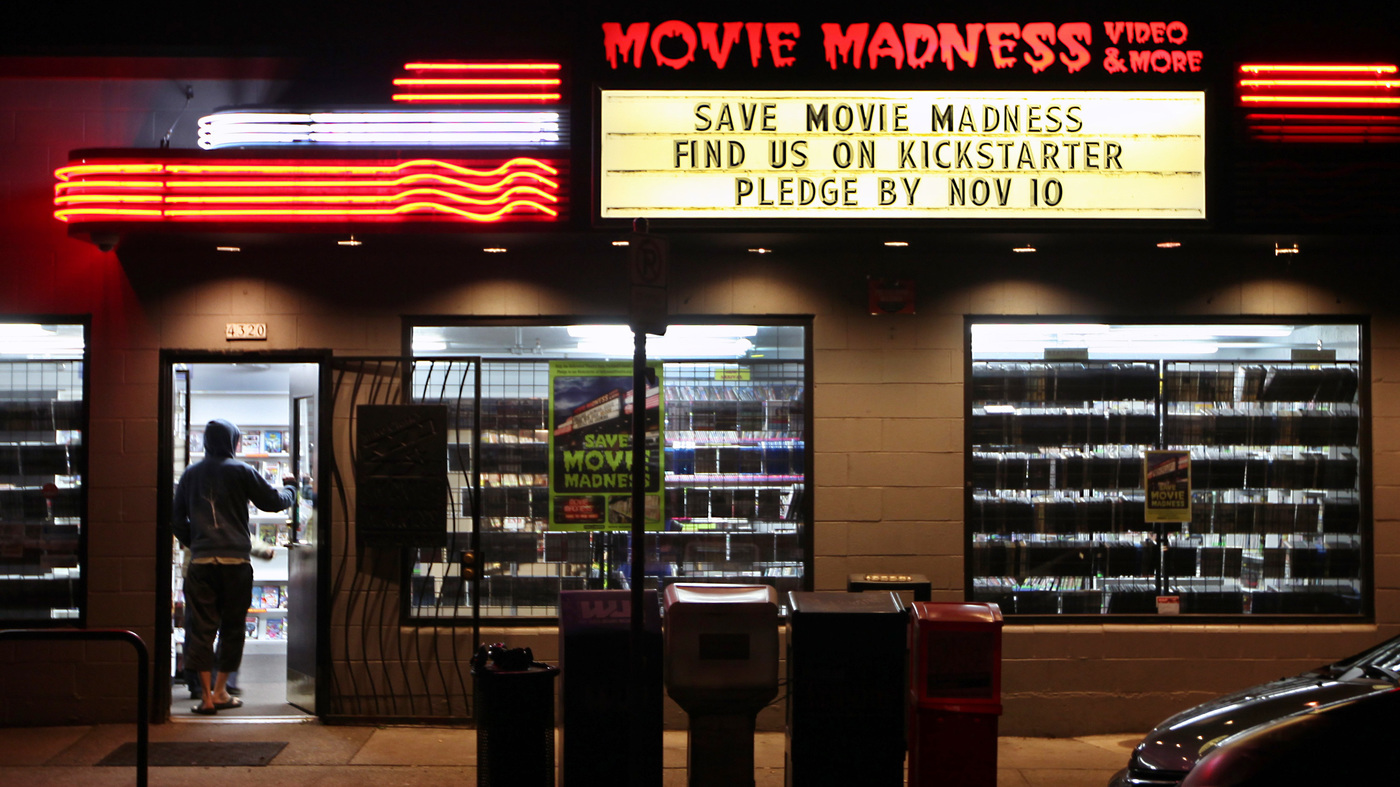
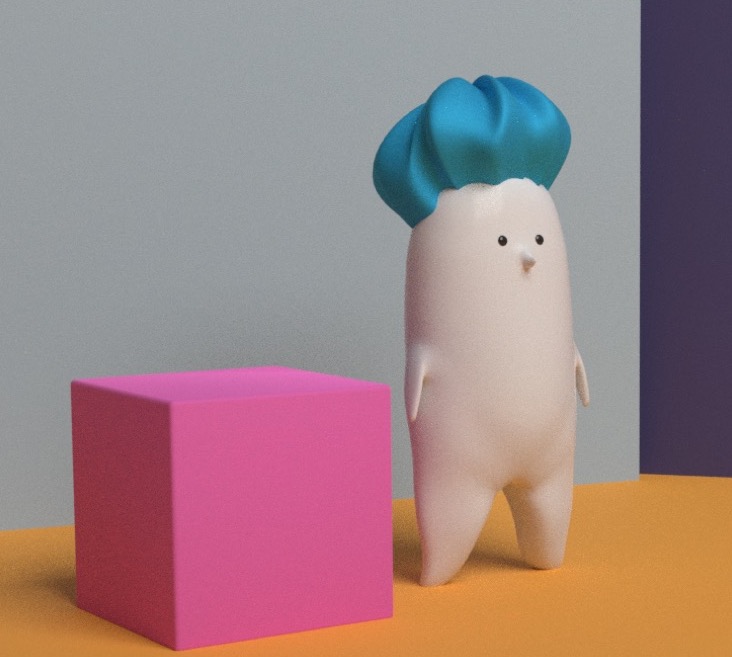
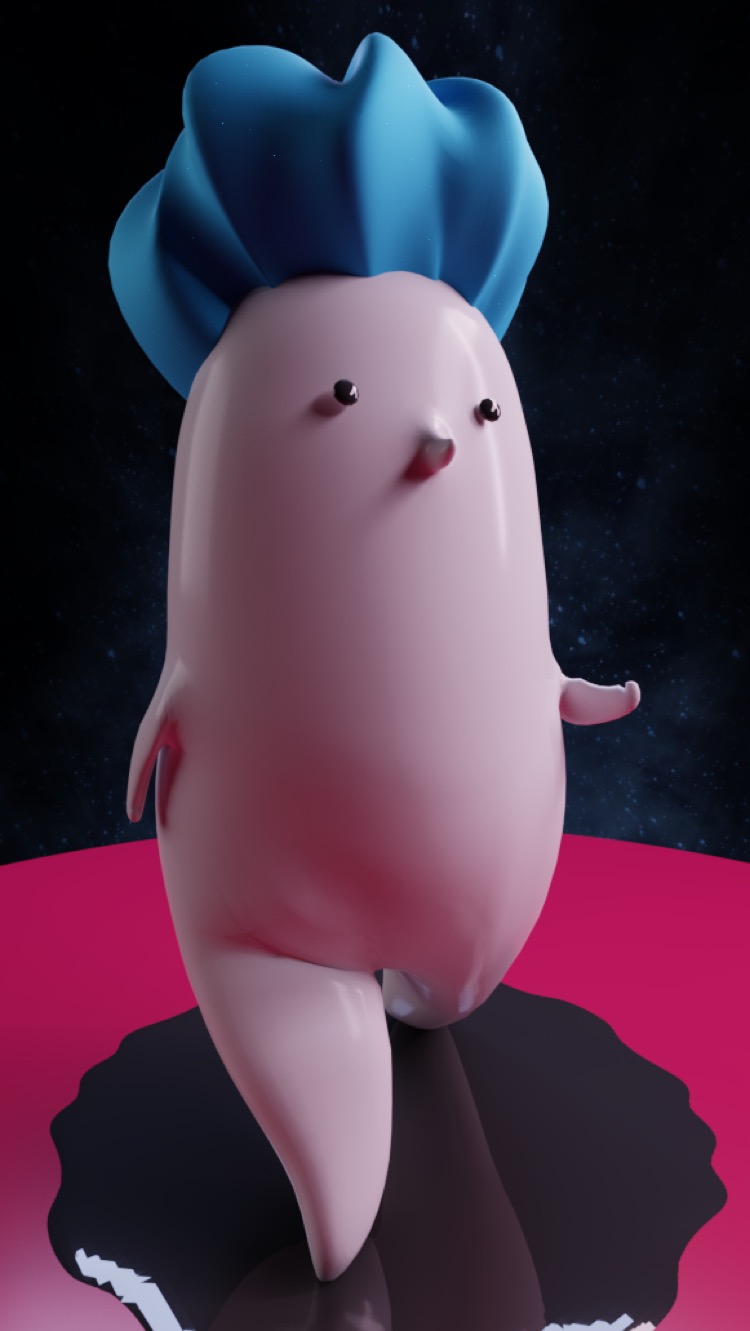
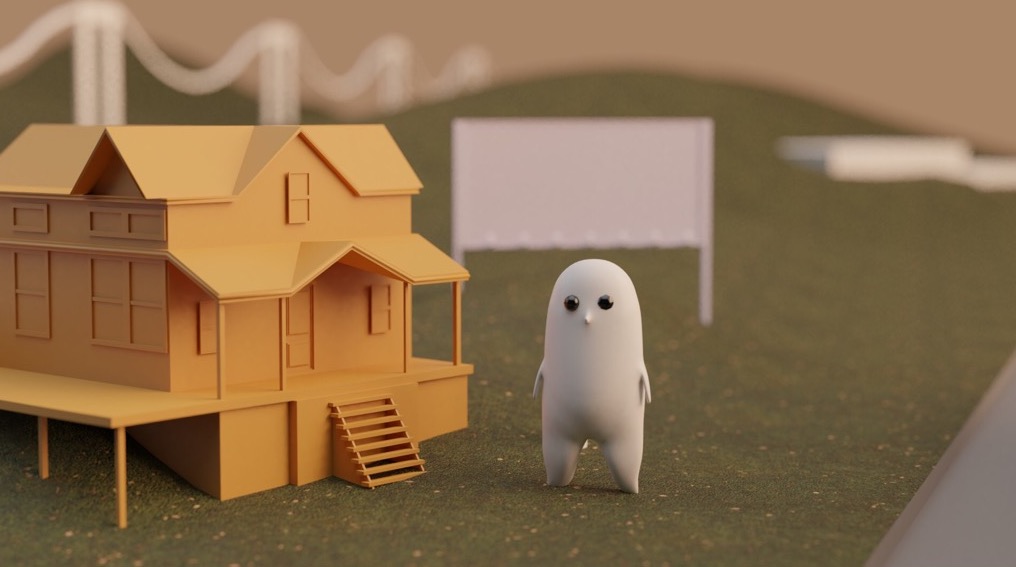
One of the most unique and frustrating parts of making CGB was my insistence on straight-ahead stream-of-consciousness guiding much of the production methodology (and damn near the entirety of the latter half). I had done a few sketches of a neighborhood that someone or some creature would walk through, interacting with their neighbors as they hop on by. I was given some sketches of a few cartoon characters and pieces of collected art by the lead singer in the band. Aside from that I just wanted to work in the ideas of bittersweet nostalgia, humid summer nights growing up in the rural south, and the imaginative and restorative power of disappearing into a movie.
(Below are some of the images and artwork sent to me by the band and my initial layout plan for the neighborhood. Including sketches for what came to be the lead character “Schowerboi”)
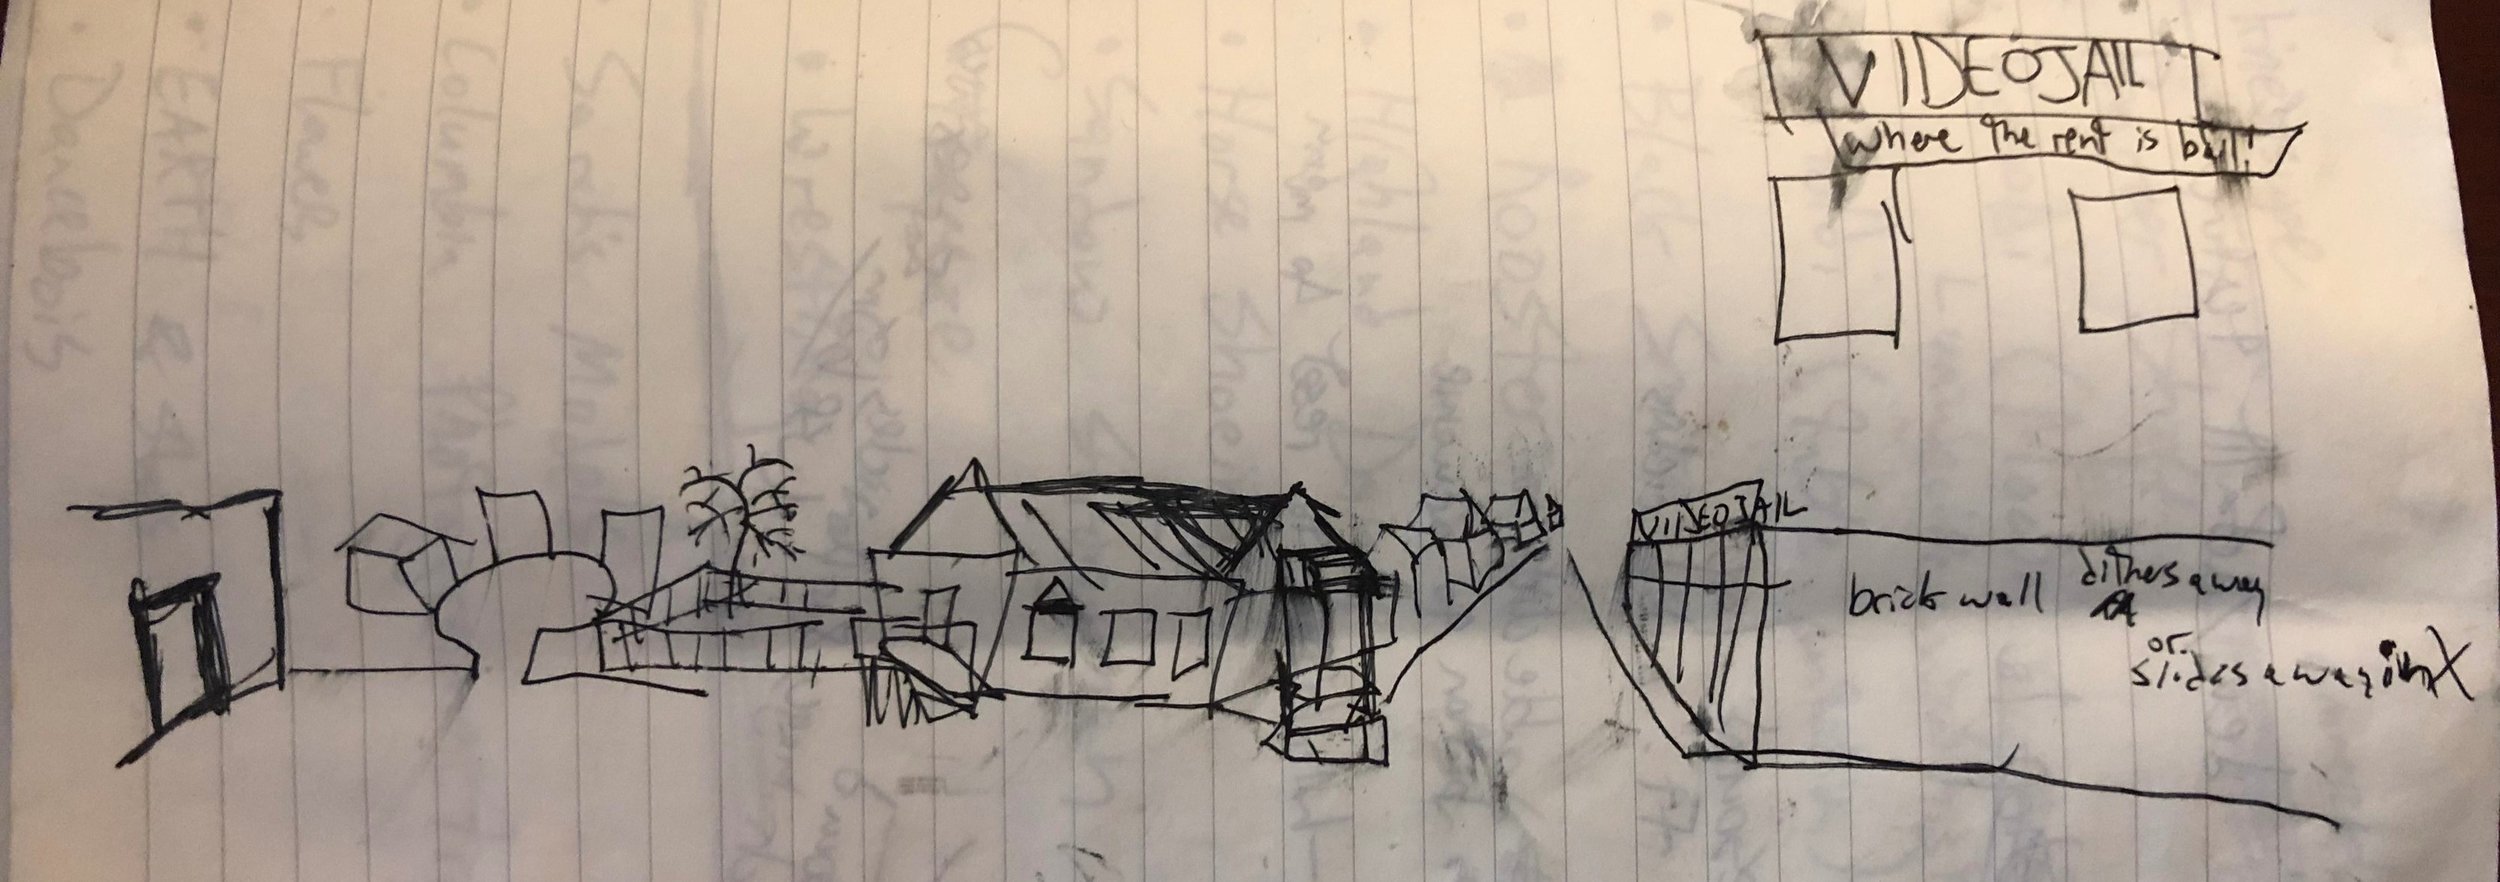

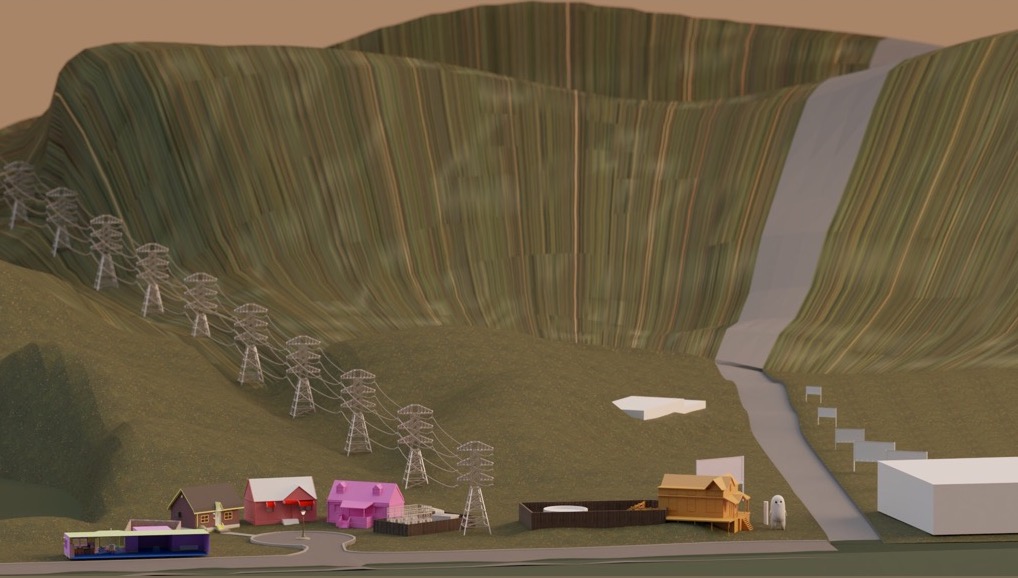
Since I had settled on making this a VR and screen experience, I decided to set it up like a side-scrolling diorama. The neighborhood would float in front of the seated VR-participant and the town would scroll along, following our dancing hero on their way to the video store. As I started blocking this out, I was working to find a walking speed that felt appropriate and created placeholders at positions along the path where certain landmarks would be placed while slowly fleshing out the world’s models and landscapes.

An early block-out animatic for the then VR-intended Coffee Grind Brains
Seen Here: An early blockout with camera locked to a simple constant horizontal slide. Note that the world is completely unrealized after entering the video store. The section after entering the video store’s back room was in flux until the very end of production. At various iterations it was going to be an adult cartoon video section, a washing machine repair shop, a mayonnaise warehouse without electricity, and finally an imagined trip into the other worlds around and within us (in outer space…)
As you can see, this simple camera motion could work but it is dull. I really wanted to be able to have a very dynamic camera and use a lot of cinematic language (different focal lengths, deliberate composition, depth of field, fluid camera motion and target tracking) that are not available in the VR-experience toolset. Doing any of these things in VR will cause nausea and motion sickness. Deciding to cut out the VR component allowed me to focus on the cinema of it and provided a lot of insight into how I can best leverage VR for future projects. The best VR experiences I’ve encountered feel more like intimate stage theater or amusement park attractions than anything you’d see in a movie theater. Stay tuned for more on that in the future.
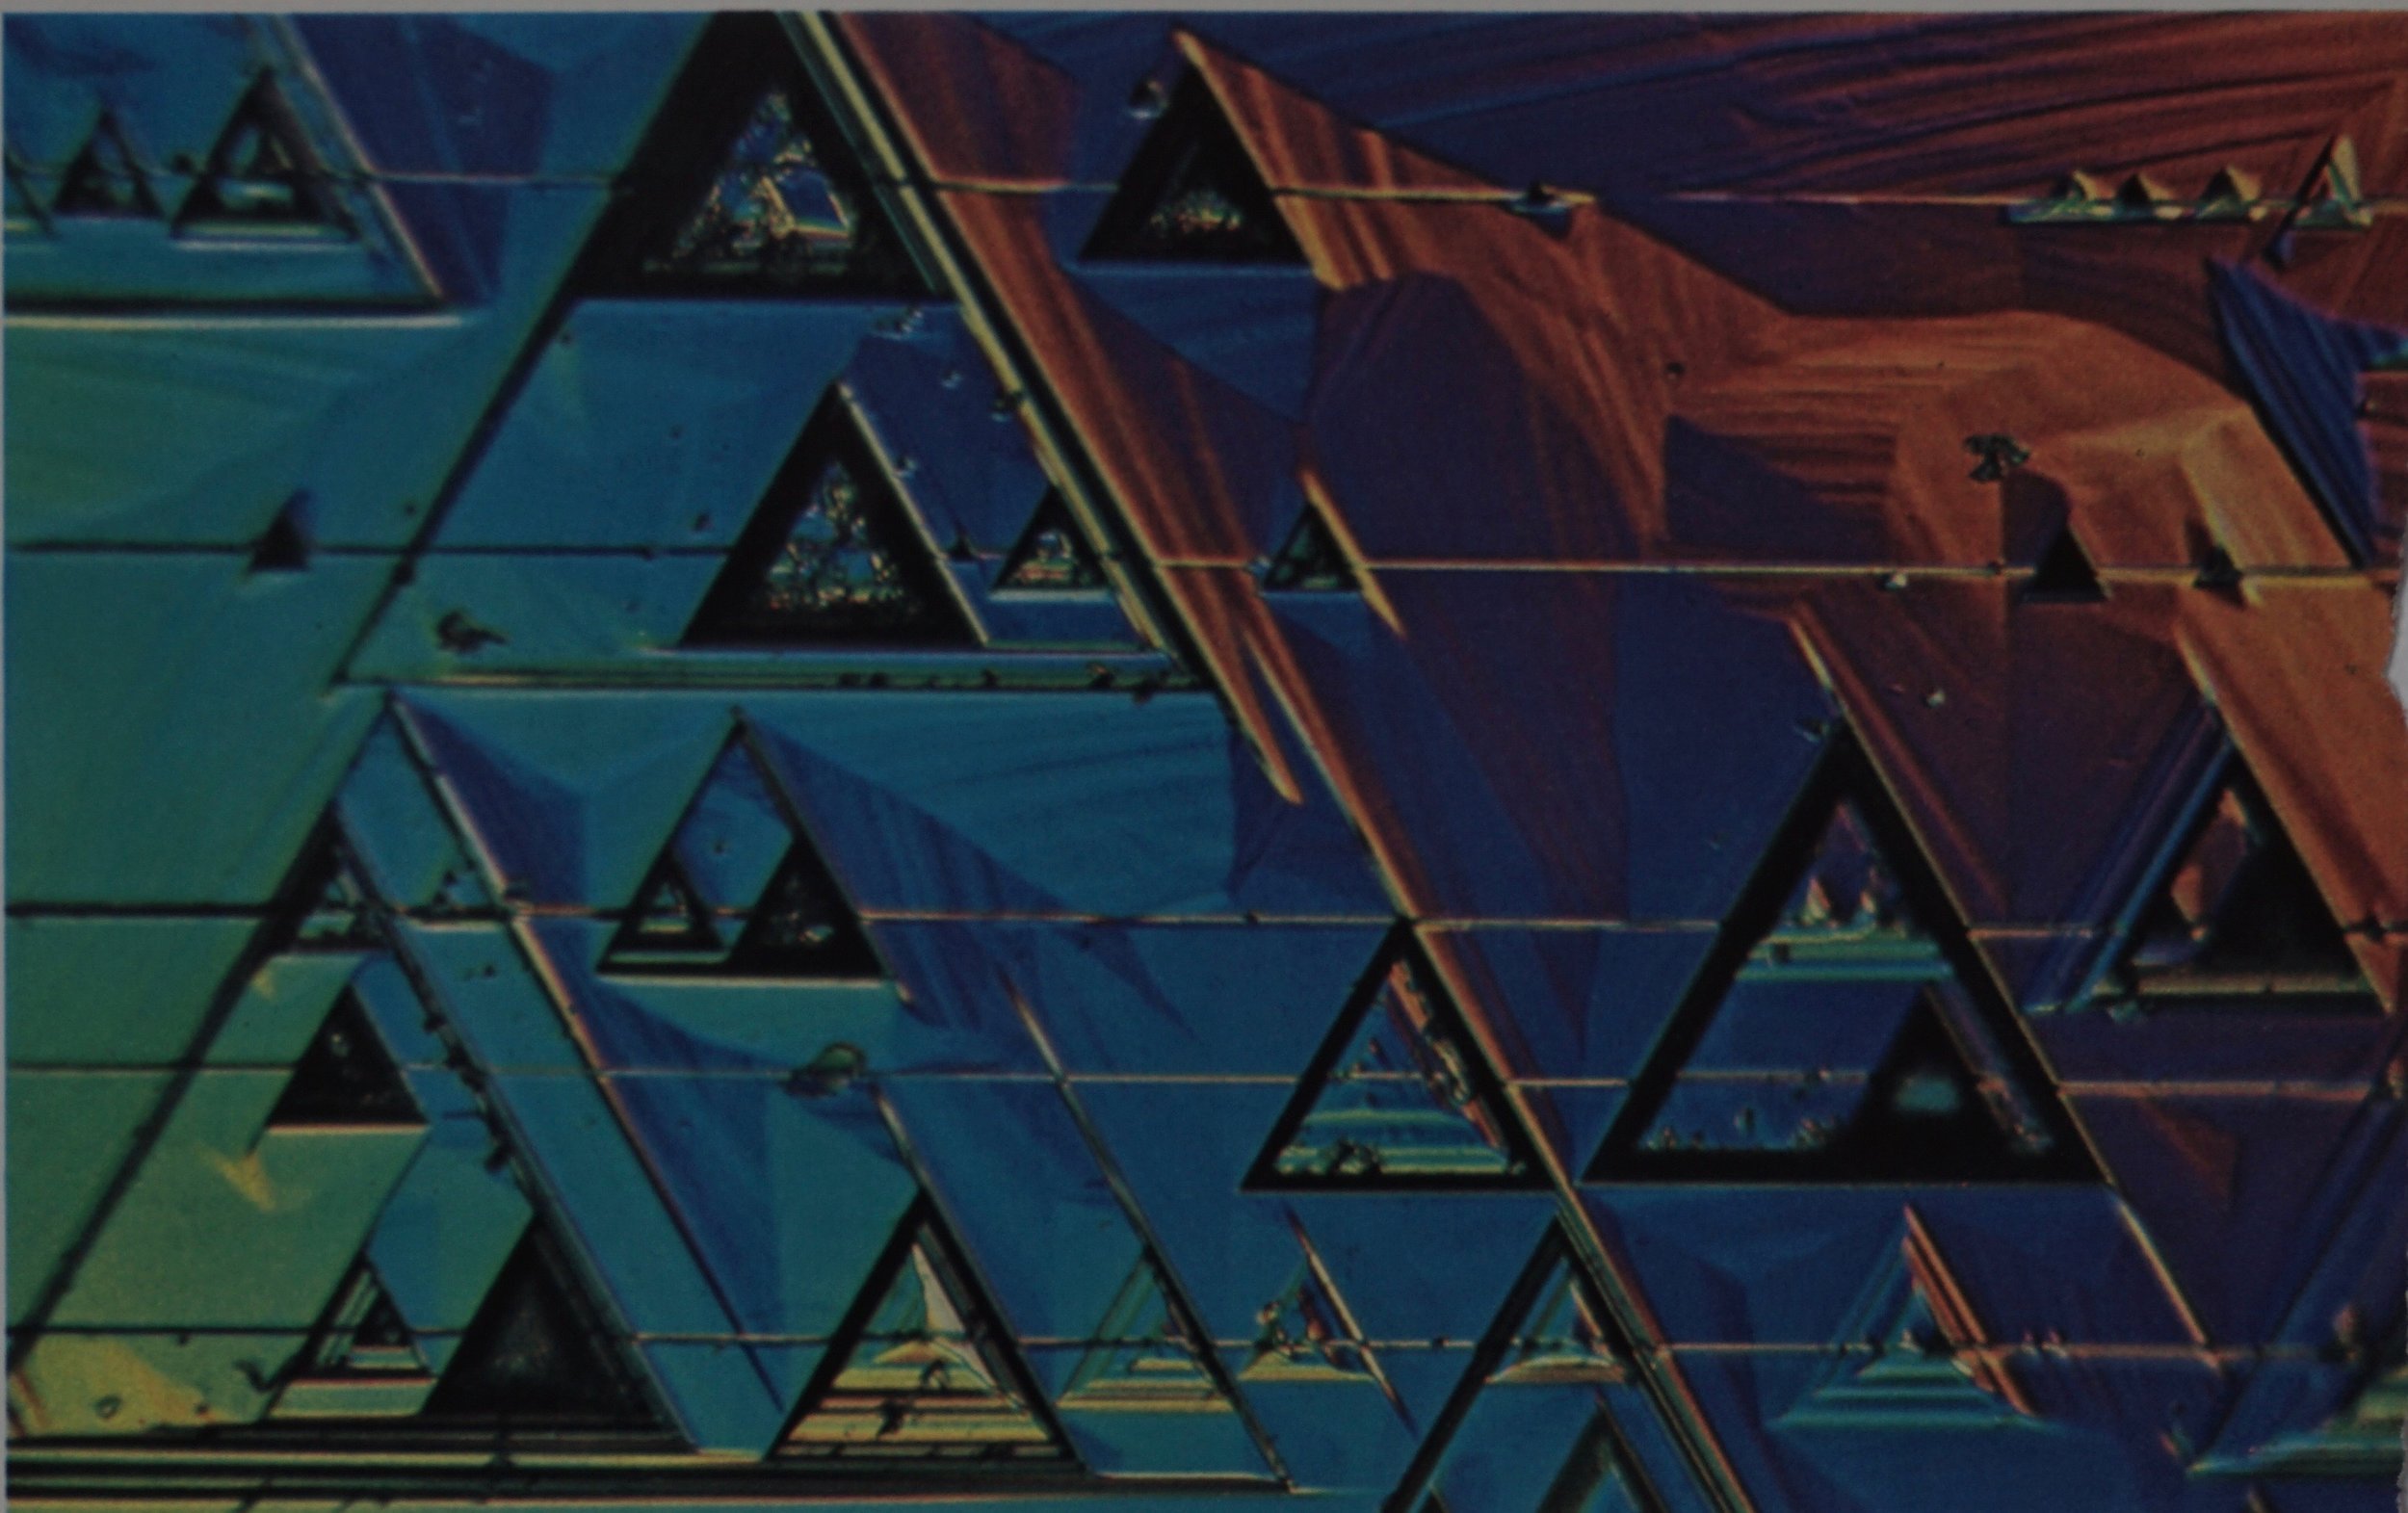
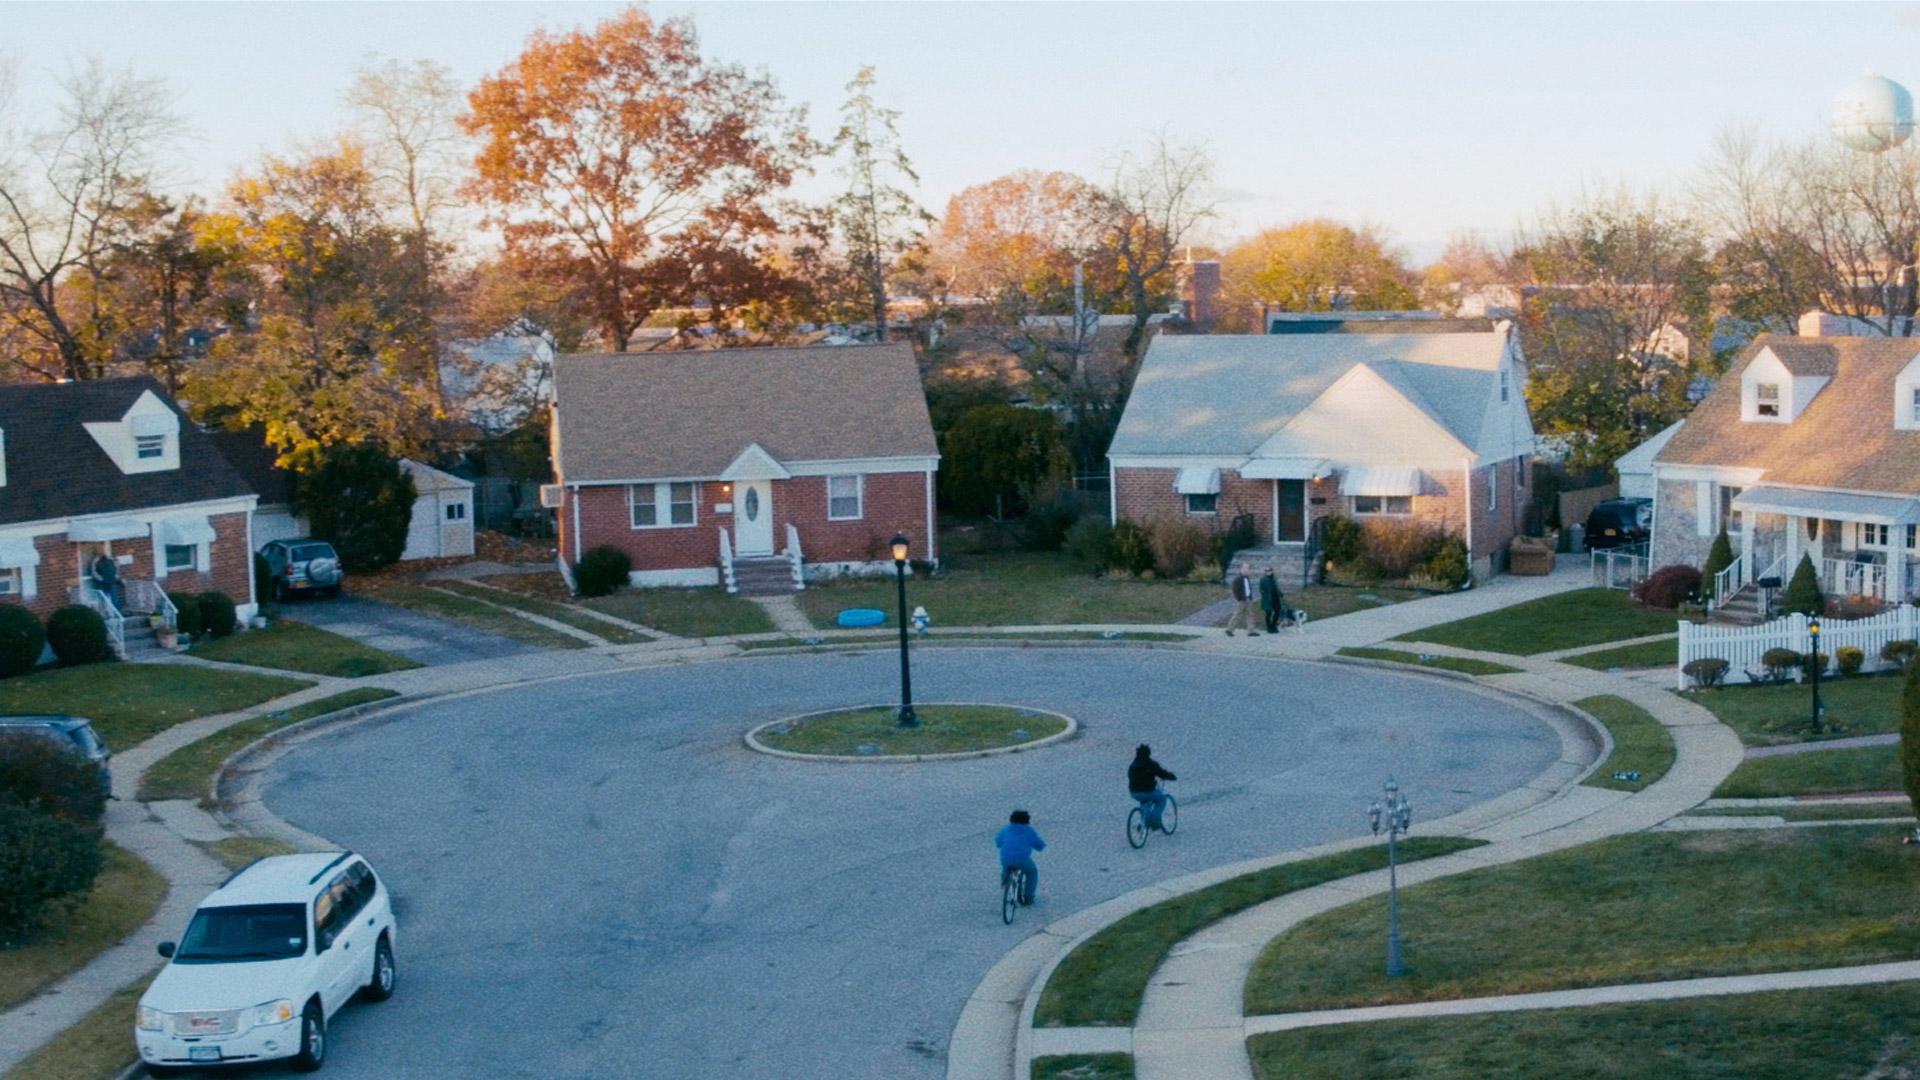
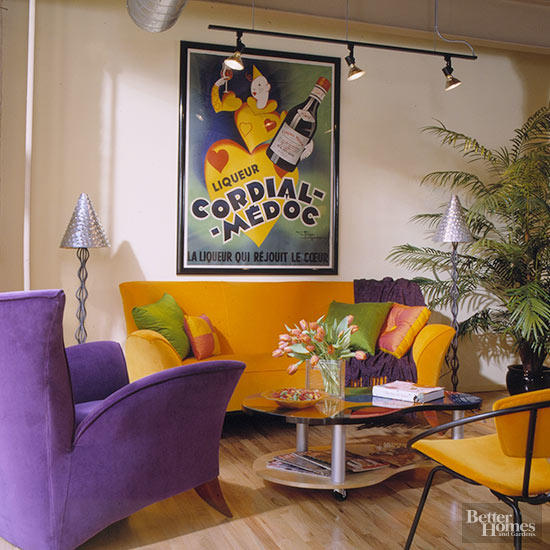
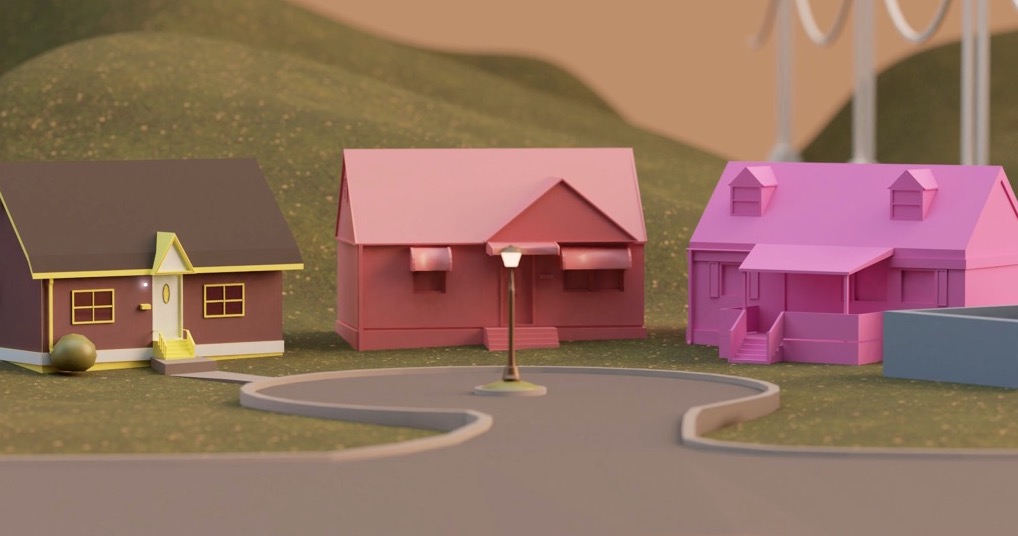
Before I wrap up discussion of pre-production, I wanted to mention the importance of reference and inspiration imagery. As you can see in the gallery below, the residential neighborhood is a nearly 1:1 remake in Blender of a photo I found via a Google Image search for “cul-de-sac.” The influence of many of the other images is clear as well.
Below: Images used for reference and inspiration

Production
This project was almost entirely done in Blender and Unity. One supporting cast character (“Hip-Smoothie”) was re-used from an earlier project. They were originally sculpted, retopologized, and UV’d in 3d-Coat. Everything else in the film is produced, rigged, and character animated in Blender with all camera and scene animation, lighting, and rendering being done in Unity with great reliance on the Timeline sequencer tools. Textures were a mix of Substance Painter for custom elements and a liberal use of tiling texture maps from a personal library built over the years from various sources (Poliigon, Quixel, Substance Source, and misc. freebies).
The first thing I did once the VR-plan was nixed was to go through and finalize the camera animations as much as I could. This would allow me to make sure any of the work I did was going to be seen. If it wasn’t in frame, it may was well have not existed. Alternatively, as long as something looked good in frame in the final camera, thats all that mattered. There are a few instances of accidental forced-perspective (that satellite is actually quite small relative to Schowerboi) and facades that fall apart from any other viewing angle.
Regarding character animation cycles, I think there are only 4 or 5 in the whole project:
2 walk cycles (slow and excited/hopping),
a jumping jack “walk cycle” (seen at the very end while hopping round the cul-de-sac)
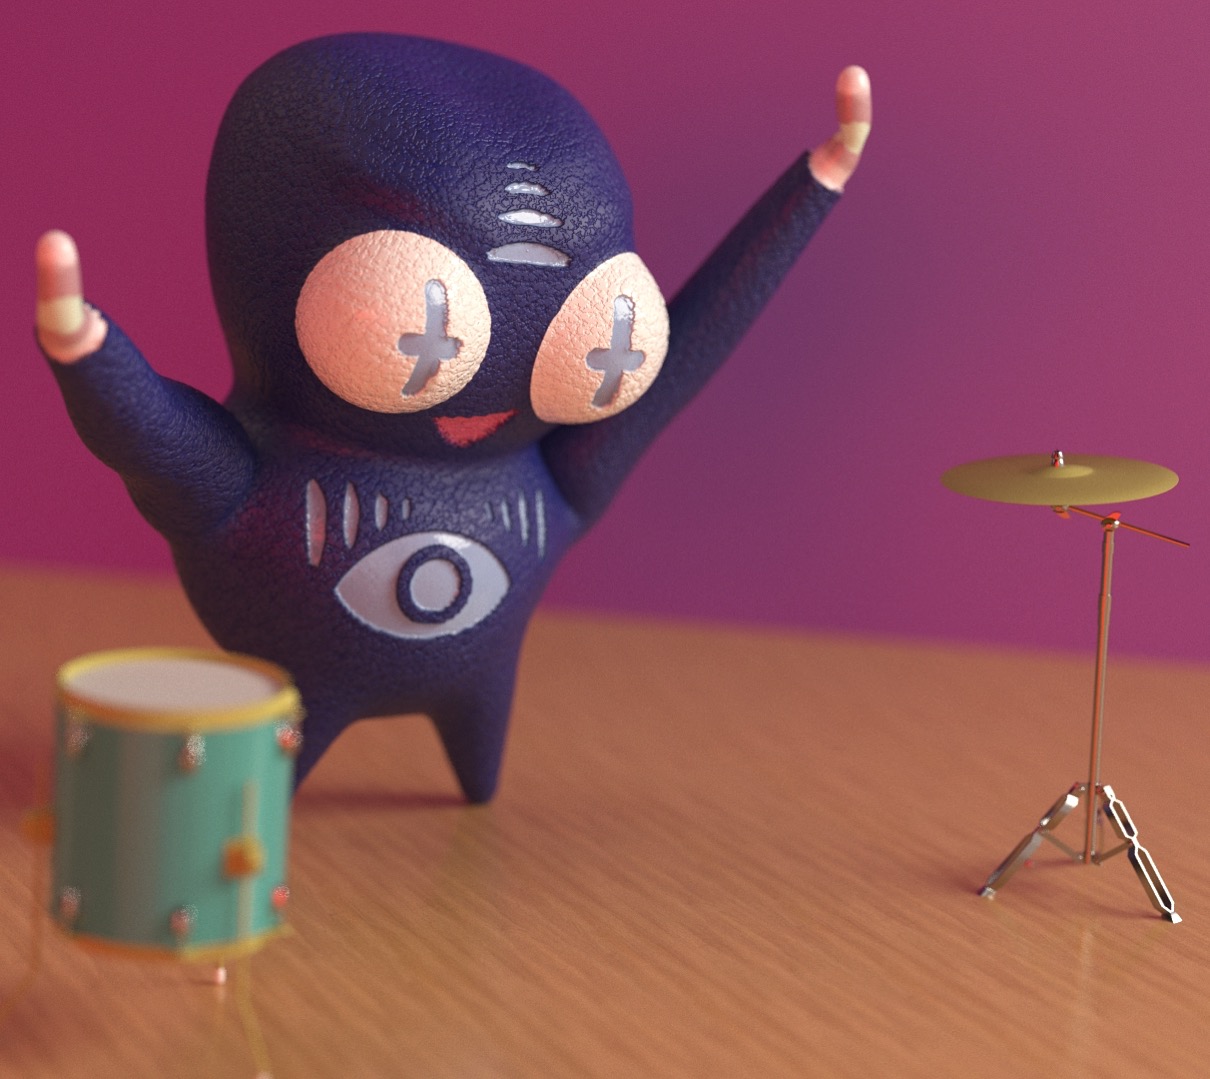
and dances for each of the supporting cast members (Pnutt-Butt, Hip-Smoothie, and DanceHorse)
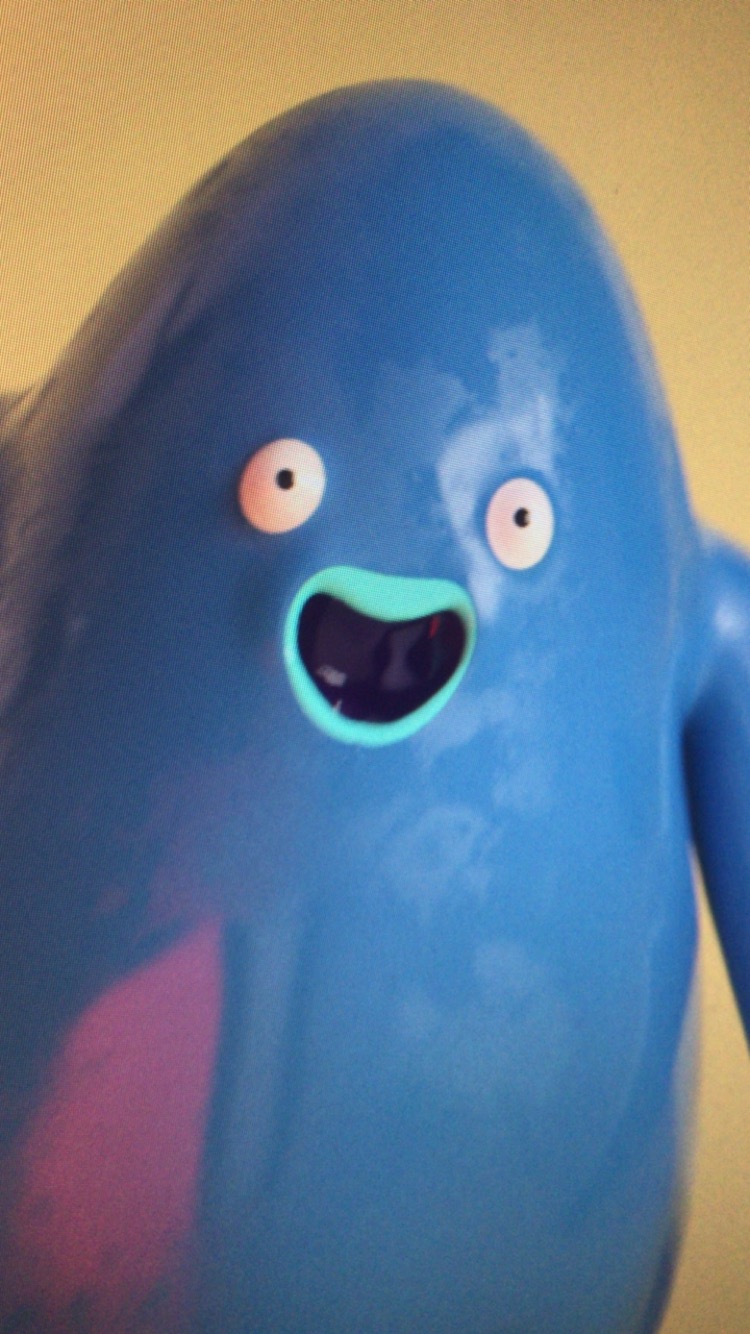
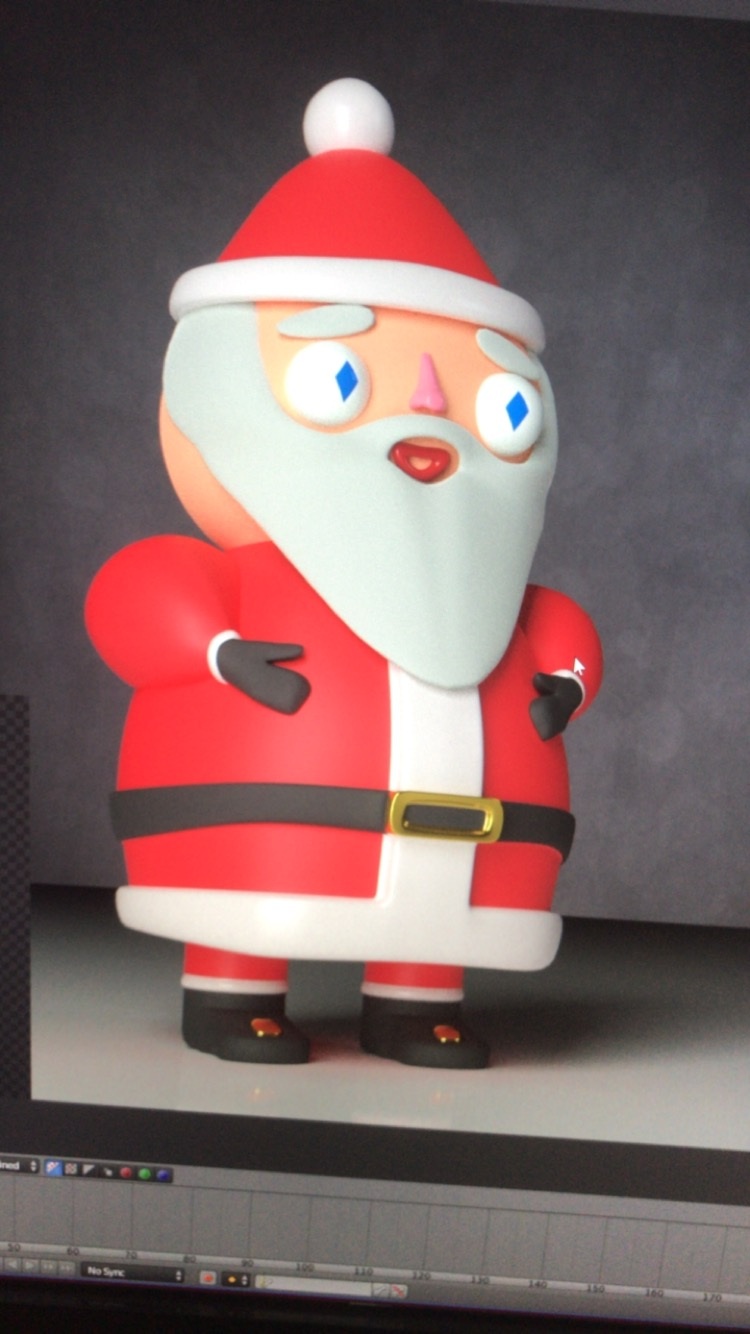
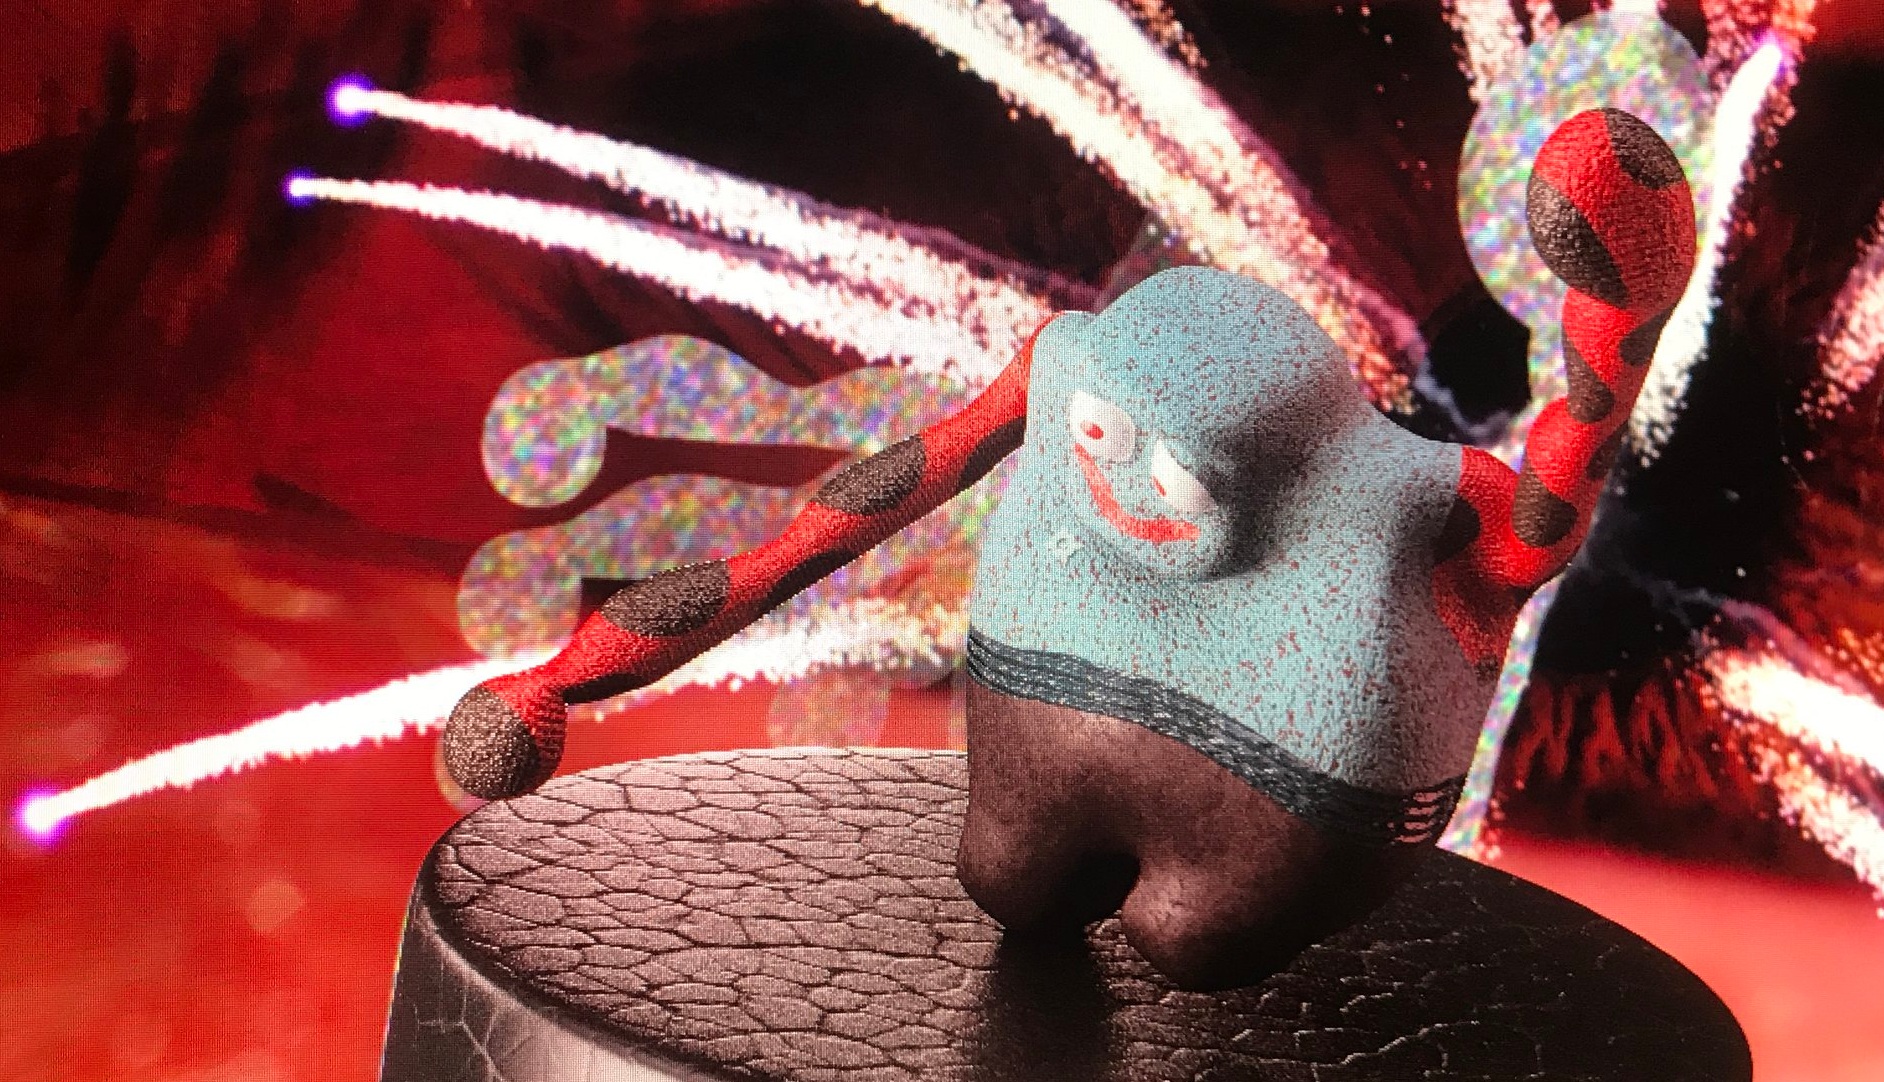
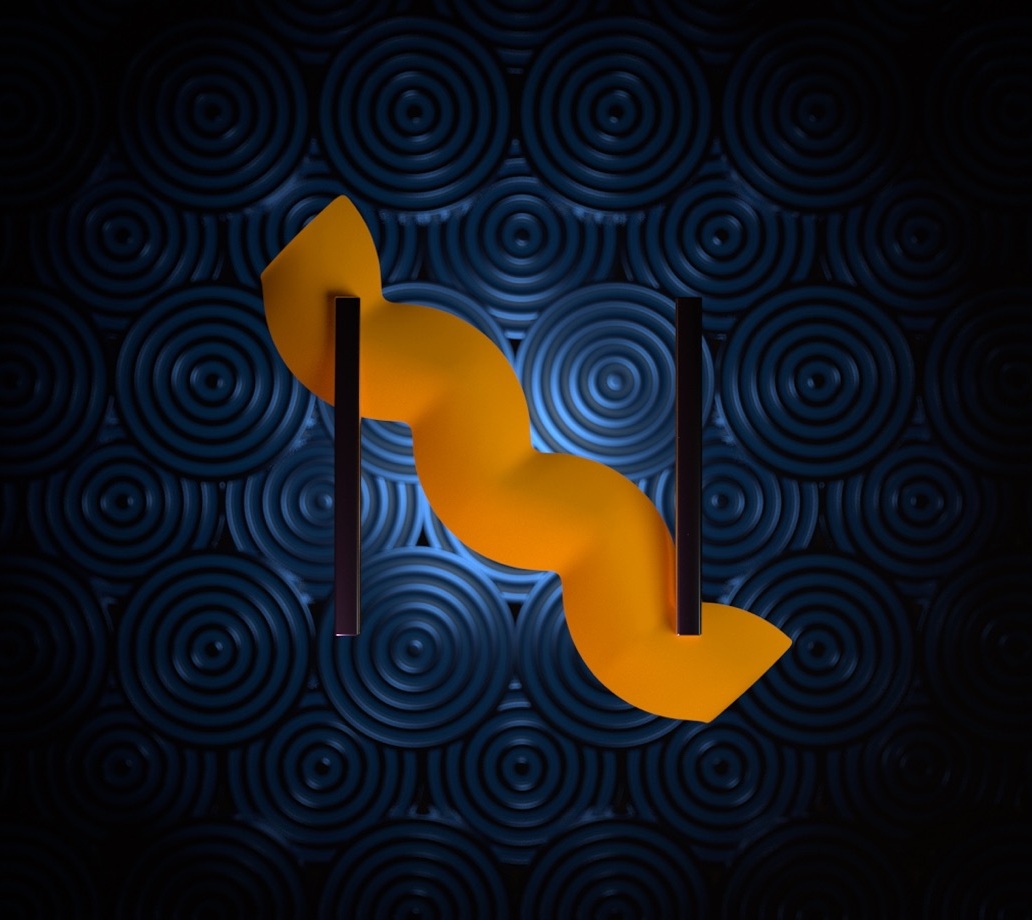
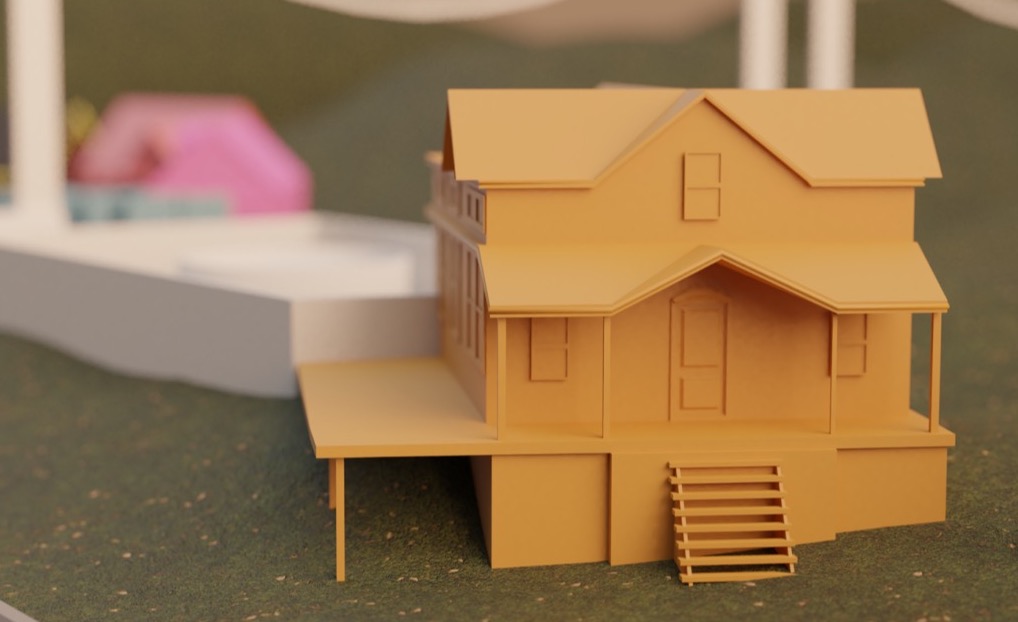
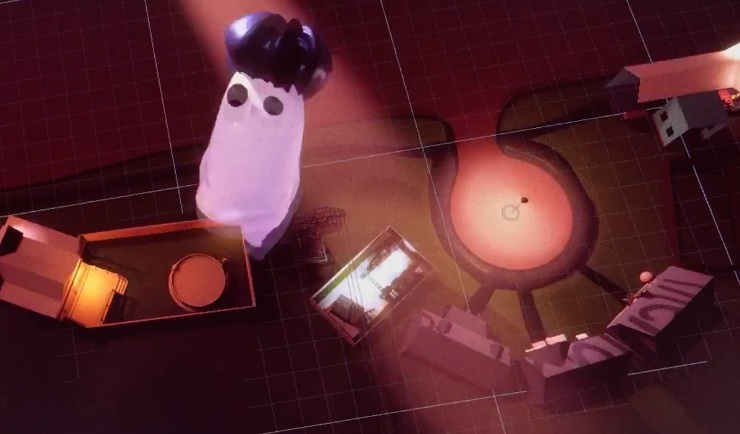
Below: Stills from various stages of production


Tool Time
(Fair warning: you may want to gloss over this section if you aren’t a Unity user)
Lets talk tools! The backbone of this project is Blender and Unity. The entire set exists as one single Blend file (not the greatest practice… but it does allow for quick iteration without needing to manually export constantly to FBX). All homes and the landscape were built manually in Blender and UV’d quickly (some would say sloppily). In a few cases textures were baked in Substance Painter, but generally material slots were just given a UBER shader in unity and given either a UV or triplanar texture maps for diffuse and roughness (if it was worthwhile). Again, this would be terrible practice if I was hoping to deliver a performant game on multiple platforms, but this is just getting rendered out to 24FPS, so we can stop thinking in terms of milliseconds here.
Speaking of Unity, there were a few plugins that were of use:
Cinemachine (used exclusively for some added camera noise and focus follow)
Post-processing stack v2
heavily color corrected/distorted in-camera. Depth-of-field, bloom, grain, etc.
Used to do some last minute landscape adjustments
Headless Studio Offline Render
Critical for rendering offline/not-realtime at 4K resolution. Also useful for exporting multiple frame passes (depth, reflections, etc) if the project calls for it.
Tech Salad Volumetric Lightbeam
I love this thing. It makes the best, quick drawing, easy to adjust spotlights I’ve ever seen in Unity. A lot of the sense of atmosphere (street lamps and the helicopter spotlight) come directly from the use of this plugin. And the developer is constantly updating and improving. Highly recommended.
It may seem pricey but this VHS plugin is very well thought out with a great deal of useful parameters to tweak. If you need VHS looks in Unity, this is what you’re looking for.
StixGames DirectX 11 Grass Shader
I didn’t get a chance to use this very much, but all of the stylized triangle glowing grass in the video is courtesy of this plugin. All of the other dark squiggly grass are created of hand placed quad planes with hand drawn grass textures.
It just makes it so easy to throw on a lazy tri-planar texture instead of fixing object UVs. That’s pretty much all I used it for here.
The evolving lumpy noise shaders on the ring-planet were all done with some simple time-based noise and sine functions in Amplify Shader editor.
Finally, the HDRI skybox image being used for ambient lighting and reflections is sourced from the incredible resource that is HDRIHaven. The site provides extremely high quality high dynamic range files for Image Based Lighting (IBL). Most impressively it is run completely for free and supported by Patreons (join me!). The exact file I used is called “Kiara 6 Afternoon” and is available for free here.
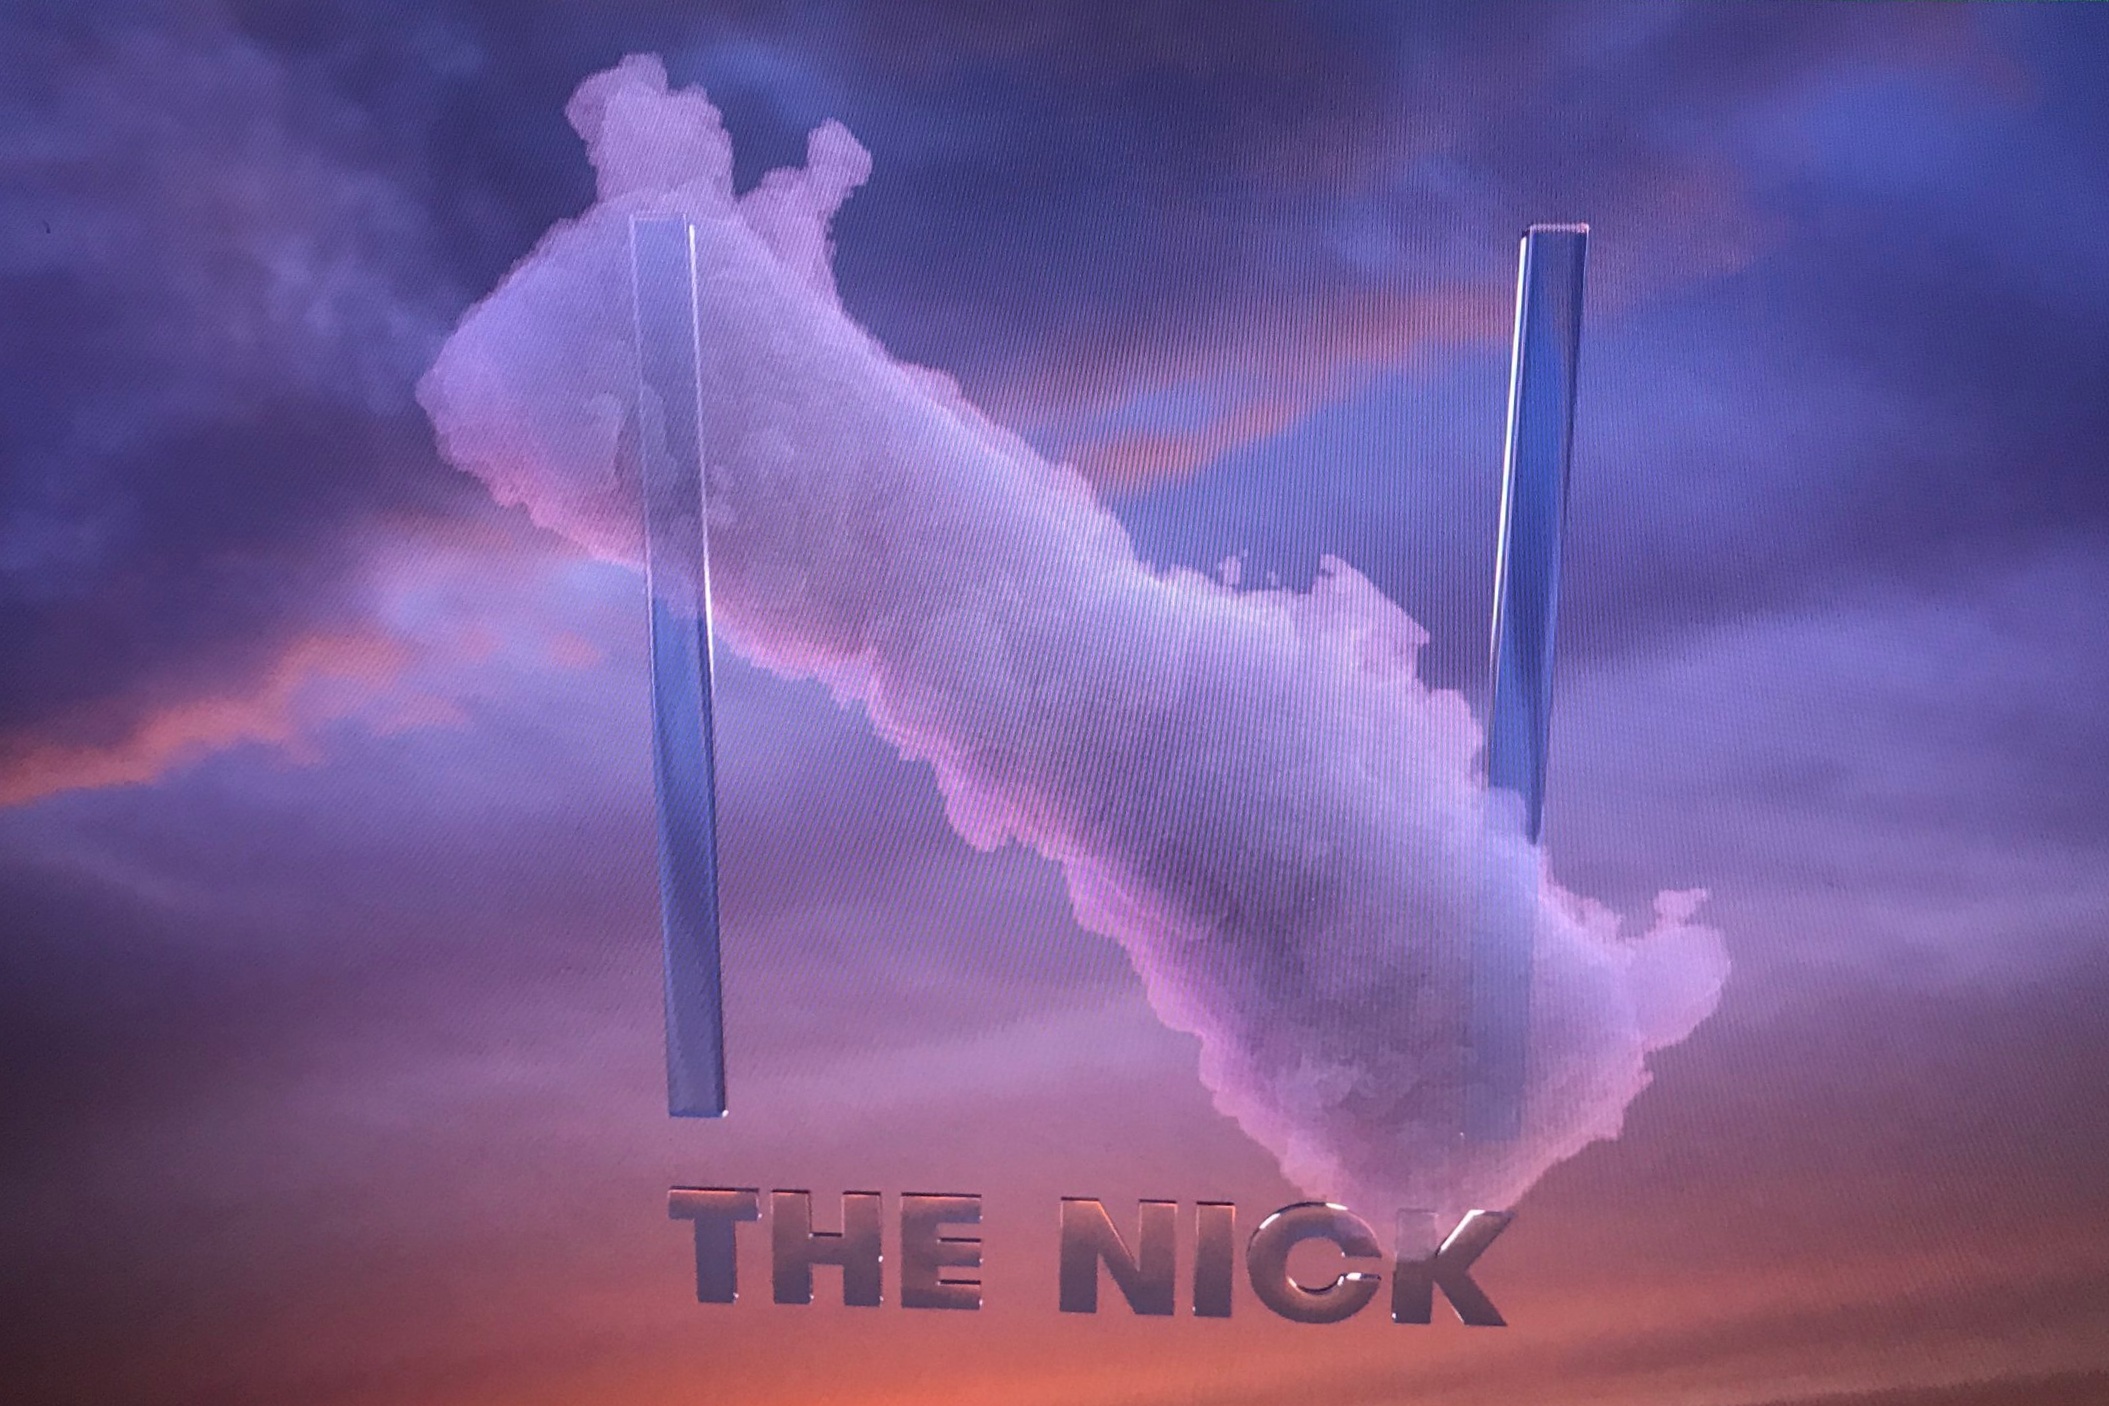
One of the first full cinematic tests

Coffee Grind Brains: Behind the Scenes
Behind the Scenes (video!)
Hey! Lets go for a ride behind the smoke and mirrors. In this video I’ll take you on a quick tour of the shamefully disorganized Unity project that produced this space oddity.
Special Thanks
Special thanks are in order to a few folks:
Luke and the rest of the Magic Video gang: Thanks for making such a beautiful album and allowing me to be a part of it. It’s been real fun working with you
Oscar “OK” Keyes: Thanks for the constant feedback on my relentless stream of previews and minor achievements along the way. This would literally not exist without your support.
Cecil Decker: Another great springboard for ideas and font of useful music loops to inspire and distract me from the real work I should be doing.